Craftsman 315.268350 Operator's Manual
Browse online or download Operator's Manual for Power tools Craftsman 315.268350. Craftsman 315.268350 Operator`s manual User Manual
- Page / 52
- Table of contents
- BOOKMARKS
- ICRRFTSMRN'I 1
- READ ALLINSTRUCTIONS 2
- SPECIFICATIONS: 4
- DEPTH STOP SYSTEM 5
- LARGE HANDLES 5
- KNOW YOUR ELECTRONIC ROUTER 6
- FRONT VIEW OF ROUTER 6
- WARNING: 7
- INSTALLING/REMOVING CUTrERS 8
- (Continued) 9
- DEPTH OF CUT ADJUSTMENTS 10
- DEPTH CONTROL KNOB 11
- PAne 1;) 12
- "LOCK-ON" BUTTON 13
- See Figure 13 13
- FEED DIRECTION 13
- RATE OF FEED 13
- SPEED SELECTION 14
- FORCE FEEDING 14
- TOO SLOW FEEDING 14
- PROPER FEEDING 14
- DEPTH OF CUT 15
- DIRECTION OF FEED AND THRUST 15
- EDGEROUTING 16
- TOP EDGE SHAPING 16
- FREEHAND ROUTING 18
- LUBRICATION 19
- BRUSH REPLACEMENT 20
- EXTENSION CORDS 20
- See Figure25 21
- HELPFUL HINTS 23
- 15.._ 54 -_ -_ 24
- 28 / D-.--43 24
- " 41 24
- PARTS LIST 25
- 1-800-827-6655 26
- Aislamiento Doble 27
- LEA TODAS LASINSTRUCClONES 28
- ESPEClFICAClONES: 30
- (Bucle Cerrado) 31
- CONEXION ELECTRICA 33
- ADVE use que tengan 35
- RTENClA: 35
- PROFUNDIDAD 37
- II 1/4 3m 1,2 314I 38
- ADVERTENCIA: Usesiempre gafas 39
- AVANCECORRECTO 40
- SELECCION DE LA VELOCIDAD 40
- AVANCEFORZADO 40
- AVANCE DEMASIADO LENTO 40
- PROFUNDIDAD DELCORTE 41
- SENTIDO DEL AVANCE Y EMPUJE 41
- LABRADO DEL BORDE SUPERIOR 42
- RANURADO 43
- RECORTE A PULSO 44
- ADVERTENCIA: Cuando repare la 45
- REEMPLAZO DE LAS ESCOBILLAS 46
- SUGERENCIAS UTILES 49
- VER NOTA "A" 50
- REPUESTOS 51
- HomeCentral°° 52
Summary of Contents
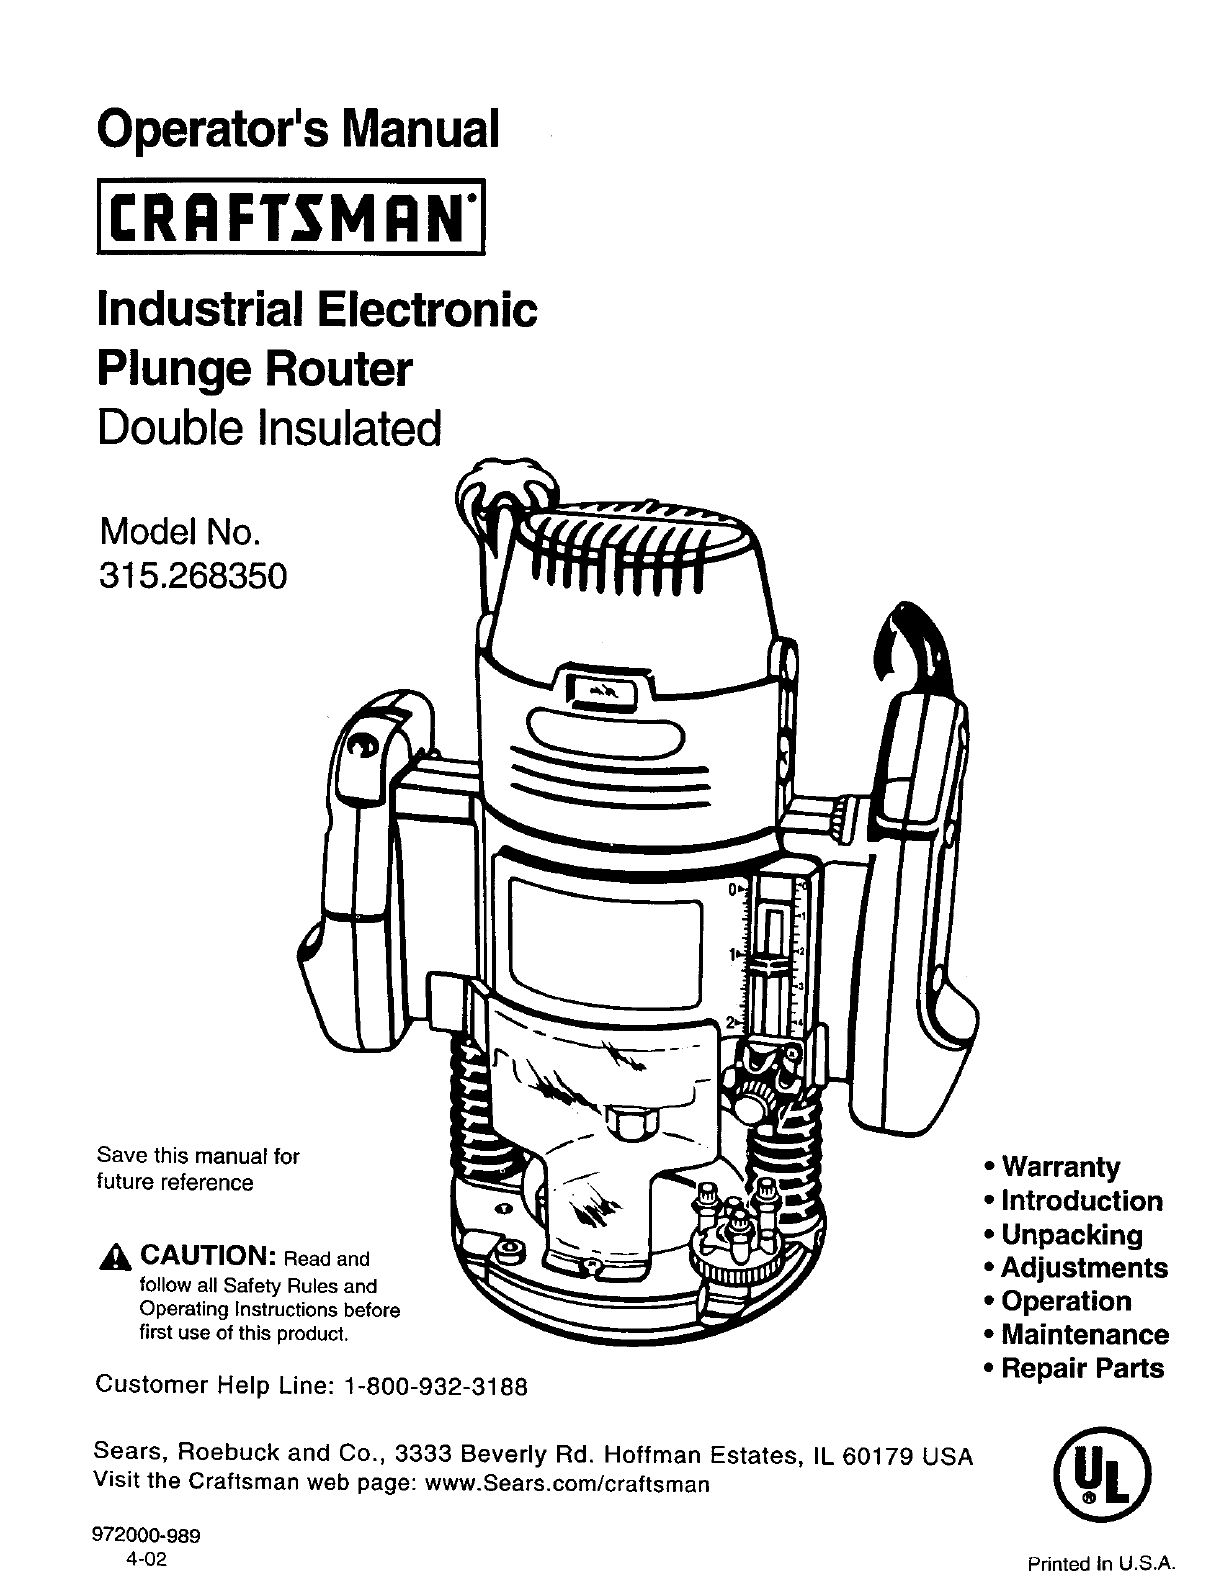
Operator'sManualICRRFTSMRN'IIndustrial ElectronicPlunge RouterDouble InsulatedModel No.315.268350Save this manual forfuture reference_1_CAUT
DEPTH OF CUT ADJUSTMENTSSee Figures 6, 7, and 8.When routinga groovethatistoodeep to safelycut inone pass,itisbestto make thecut inseveralpasees.We re
DEPTH CONTROL KNOBSee Figure 9.Fine adjustments can be made to the depth of cut by use ofthe depth control knob. Another primary use of the depthcontr
DEPTH STOP SYSTEM (Continued)• Raise cutter by depressing plunge release actuator.• Place router on flat surface, and lower router untiltip ofcutter b
AWARNING: Always wear safety goggles orsafety glasses with side shields when usingrouter. Failure to do so could result in dust,shavings, chips, loose
PROPER FEEDINGThe rightfeed is neither too fast nor too slow. It is the rateat which the bit is being advanced firmly and surely toproduce a continuou
DEPTH OF CUTAs previously mentioned, the depth of cut is importantbecause it affects the rate of feed which, in tum, affectsthe quality of a cut (and,
EDGEROUTINGRace muter on workpiece, making sure the muter bit doesnot contact workpiece. Turn muter on and let motor build toits full speed. Begin you
ROUTING GROOVESSee Figure 22.When routing across the face of boards, set router atdesired depth of cut, place the edge of router base againstworkpiece
FREEHAND ROUTINGSee Figure 23.When used freehand, your plunge router becomes aflexible and versatile tool This flexibility makes it possibleto easily
AWARNING: When servicing use onlyidentical Craftsman replacement pads, Use of anyother parts may create a hazard or cause productdamage,GENERALOnly th
DOUBLE INSULATION is a safety concept in electricpower tools which eliminates the need for the usualthree wire grounded power cord and groundedsupply
BRUSH REPLACEMENTSee Figure 24.Your router has extemally accessible brush assembliesthat should pedodically be checked for wear.PROCEED AS FOLLOWS WHE
PLUNGE LOCK ACTUATOR ADJUSTMENTSSee Figure25.The plunge lock actuator has been properly set at thefactory and no initial adjustments should be require
DEPTH CONTROL KNOB ADJUSTMENTSSee Figure 27.The depth control knob is spring loaded against hex nut toprevent router motor from accidentally separatin
ROUTER TABLESAWARNING: Do not use with router tablesthat fail to conform to safe wood workingpractices and offer proper guarding for the cutter.Failur
CRAFTSMAN ROUTER - MODEL NUMBER 315.268350SEENOTE"A"15.._ 54 -_ -_28 / D-.--43._/2?I//." 41NOTE: "A"- The assembly shown repr
CRAFTSMAN ROUTER - MODEL NUMBER 315.268350The model number will be found on a plate attached to the motor housing. Always mention the model number in
For repair of major brand appliances in your own home...no matter who made it, no matter who sold it!1-800-4-MY-HOM EsMAnytime, day or night(1-800-469
Manual del UsuarioTupi Electrbnico Industrial conEfecto de EmboloAislamiento DobleModelo N°315.268350Conserve este manualpara referencia futuraAATENCl
ELAISLAMIENTODOBLEesunconceptodeseguridad,en las herramientas mecdnicas eldctricas, que elimina lanecesidad del cordbn normal de tres hilos puesto a t
Ilaves de ajuste y las Ilaves de tuercas han sido sacadasde la herramienta antes de ponerla en marcha.• EVITE LA PUESTA EN MARCHA ACCIDENTAL. Notransp
• AVOID ACCIDENTAL STARTING. Don't carryplugged-in tools with finger on switch. Be sureswitch is off when plugging in.• MAKE SURE YOUR EXTENSION
FELIClTAClONES Y NUESTRO AGRADECIMIENTOPOR HABER COMPRADO ESTE TUP! CRAFTSMAN.Ha sido diseSado y fabricado de acuerdo con las altasnormas de Sears de
Su nuevo tupi con efecto de dmbolo viene totalmente armado. Despu6s de sacado de la caja, inspecci6nelo cuidadosamente paraasegurarse de que no estd d
CONOZCA SU TUPI ELECTRONICOAntesdeintentarusarsutupi_fami_iadcesec_nt_das_ascaracterfsticasde_peraci_ny__srequedmient_sdeseguddad. VetFiguras I y 2.AD
VISTADEATRASDELTUPIBOTONDECONTROLDEPROFUNDIDADSELECTORDELCONTROLDEVELOCIDADVARIABLECORDONELECTRICOBOTONDE BLOQUEOENMARCHAGA_LLO DEMARCHA_ARADAMANIJACO
ADVERTENCIA: Su tup_no debe estarenchufado a la fuente de alimentacibn cuandoestd instalando las piezas, haciendo ajustes,instalando o sacando fresas
INSTALACION/CAMBIO DE FRESAS(Continuaci6n)• Si estd instalando la fresa po_"primera vez, puedeinstalarla una vez que la tuerca del portafresa est
AJUSTES DE LA PROFUNDIDAD DE CORTEVet Figuras 6, 7 y 8.Cuando se estd recortando una ranuraque es demasiado profundapara cortada de una sola pasada, e
BOTON DE CONTROL DE PROFUNDIDADVer Figura 9.Se pueden hacer ajustes finos a la profundidad del codemediante el uso del bot6n de control de profundidad
SISTEMA DE TOPES DE PROFUNDIDAD(Continuaci6n)• Elevelafresaopdmiendoelbotbndedesbloqueodeldmbolo.• Coloque el tupf en una superflcio piano y hdgalo de
ADVERTENCIA: Usesiempre gafasprotectoras o lentes de seguridad con protecci6nlateral euando haga funcionar su tupf. De to contrariopuede que le salte
CONGRATULATIONS AND THANK YOU FOR BUYINGTHIS CRAFTSMAN ROUTER. It has been designed,engineered and manufactured to provide you with Searshigh standard
AVANCECORRECTOEl avance correcto no debe serni demasiado rdpido nidemasiado lento. Es la velocidad ala cual la fresa est,. siendoavanzada firme y segu
PROFUNDIDAD DELCORTEComo se mencion6 anteriormente, la profundidad del corte esimportante porque afecta la velocidad de avance la cual a su vezafecta
LABRADO DE BORDESColoque el tupf en la pieza de trabajo asegurdndose de que lafresa no toque la pieza de trabajo. Ponga en marcha el tupf ydeje que el
RANURADOVer Figura 22.Cuando se hacen ranuras a trav6s de la superfieie de tablas,coloque et tupf a la profundidad de code deseada, eoloque elborde de
RECORTE A PULSOVer Figura 23.Cuando se usa a pulso su tupf con efecto de 6mbolo setransforma en una herramienta vers_.tily flexible. Esta flexibilidad
ADVERTENCIA: Cuando repare laherramienta use solamente repuestosaut_nticos Craftsman. El uso de cualquier otrorepuesto puede craar un riesgo o da,Sar
REEMPLAZO DE LAS ESCOBILLASVer Figura 24.Su tupf tiene un conjunto de escobUlas accesiblesexterenareenteque deben ser revisadas perk_licamentepara ver
AJUSTE DEL BOTON DE BLOQUEO DELEMBOLOVer Figure 25.El botdn de bloqueo del _mbolo ha sido debidamente ajustadoee la fdbfica y no se requerirdn ajustes
AJUSTES DEL BOTON DE CONTROL DEPROFUNDIDADVer F/gura 27.El botbn de control de profundidad esta instalado con un resortecontra ta tuerca hexagonal par
MESAS DE TUPIADVERTENCIA: No use con mesas queno cumplen con las pr_cticas seguras de trabajoen madera y que no ofrezcan proteccibnadecuada para la fr
Your new plunge router comes fully assembled. After removing it from the box, inspect it carefully to make sure that it isnot damaged and that no part
TUPI CRAFTSMAN - NUMERO DE MODELO 315.268350VER NOTA "A"NOTA: "A" - El conJunto que se Ilustra representa una parte Importante del
... TUPI CRAFTSMAN - NUMERO DE MODELO 315.268350 ...i i i I II | I II II i ii i i iI E' nL_merO de mod_'O Se encuentra erl U_la p'_
For repair of major brand appliances in your own home...no matter who made it, no matter who sold it!1-800-4-MY-HOME sMAnytime, day or night(1-800-469
KNOW YOUR ELECTRONIC ROUTERBeforeattemptingto useyourrouter,familiarize yourselfwithall operatingfeatures and safetyrequirements.See Figures1and2.WARN
REAR VIEW OF ROUTERDEPTH CONTROLKNOBVARIABLE SPEEDCONTROL SELECTORPOWER CORD"LOCK-ON'BUTTONLOCKHANDLE"ON-OFFTRIGGERSWITCH HANDLESPEEDSE
AWARNING: Your router should never beconnected to power supply when you areassembling parts, making adjustments,installing or removing cutters, or whe
INSTALLING/REMOVING CUI"I'ERS(Continued)• If installing cutter for the first time, it can be installedonce collet nut is loose. If changing
Related products and manuals for Power tools Craftsman 315.268350
 (29 pages)
 (24 pages)
© 2020, manymanuals.com. All rights reserved. | 1.771 s |
 Manymanuals.com
 Manymanuals.de
 Manymanuals.fr
 Manymanuals.it
 Manymanuals.pl
 Manymanuals.cz
 Manymanuals.es
 Manymanuals-pt.com
Comments to this Manuals