Craftsman 137.228010 Operations Instructions
Browse online or download Operations Instructions for Power tools Craftsman 137.228010. Craftsman 137.228010 Operating instructions User Manual
- Page / 17
- Table of contents
- BOOKMARKS
- "TABLE SAW 1
- SAVE THESE 2
- INSTRUCTIONS 2
- SAVE THESE INSTRUCTmONS 3
- SAVE THESE NSTRUCT ONS 3
- RECOMMENDED ACCESSORMES 4
- Fig. A 2 5
- CHANGINGTHEBLADE(FIG.I) 7
- Toavoidinjury: 7
- MAiNTAiNiNG YOUR TABLE SAW 11
- TROUBLESHOOTmNG GUIDE 11
- CRAFTSMAN 10" TABLE SAW 13
- MODEL NO. 137.228010 13
- ,..,.. _ <_iz ° _ 15
- _ '+_ O 17
Summary of Contents
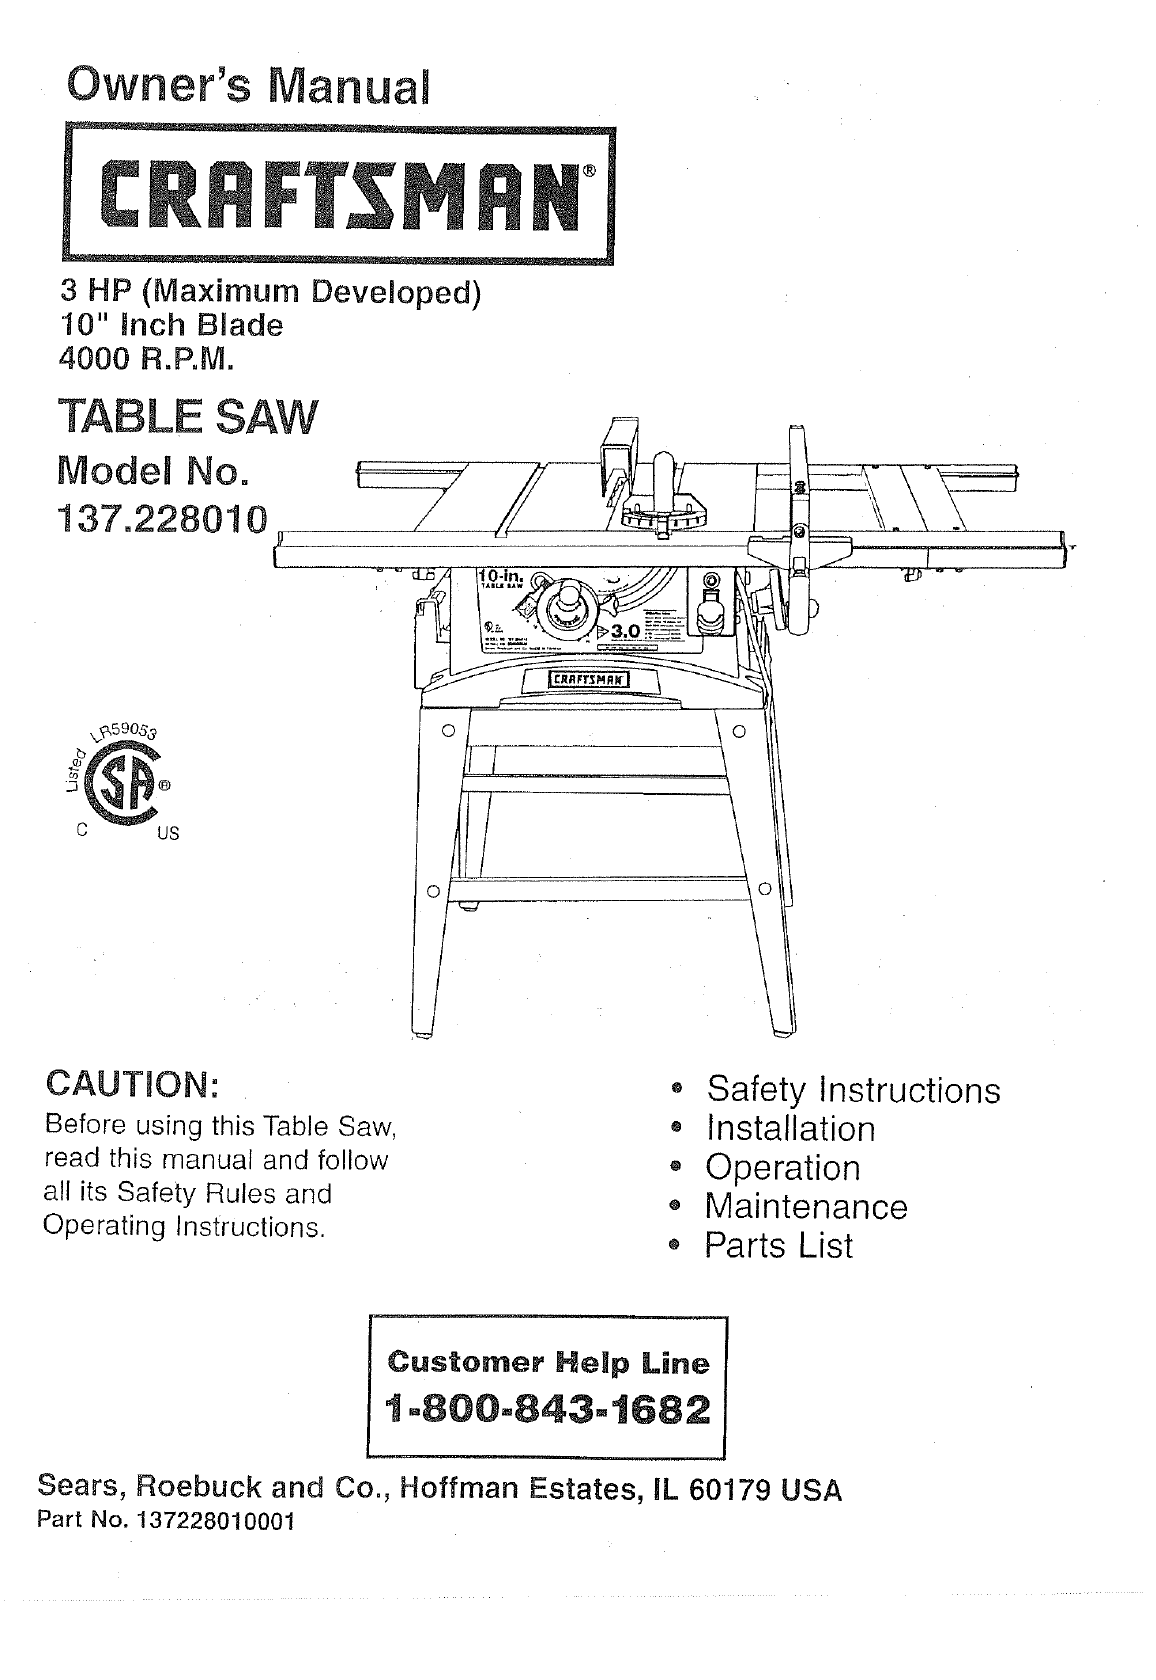
Owner's anual3 HP (Maximum Developed)10" inch B_ade4000 R.P.M."TABLE SAWModel No.137.228010C USCAUTION:Before using this Table Saw,read
.Never pull the workpiece back when the blade isturning. Turn the switch OFF. When the blade completelystops raise the kickback pawls on each side of
MAiNTAiNiNG YOUR TABLE SAWGENERAL MAINTENANCEFor your own safety, turn the switch OFF and remove theswitch key. Remove the plug from the power source
CRAFTSMAN 10" TABLE SAW MODEL NO. 137.228010CRAFTSMAN 10" TABLE SAW MODEL NO. 137.228010When servicing use only CRAFTSMAN replacement parts.
CRAFTSMAN 10" TABLE SAWPARTS LIST FOR SCHEMATIC BMODEL NO. 137.228010O,_N'5Q,_aEzt_viCOII L,ho I-- IIL.nLq I-- <O6 N_ q_ m ,• N ° .'
CRAFTSMAN 10" TABLE SAWPARTS LIST FOR SCHEMATIC CMODEL NO. 137.228010,Nc0,t-ut_J_EzD.LO LNL_ Lfh¢'4 ¢N6 6LO LO_3 q3C {3) _ r0 fO CTJ ¢5u_r&a
MOTORSCHEMATIC DMODEL NO. 137.228010MOTORPARTS LIST FOR SCHEMATIC DMODEL NO. 137.228010.£o_.QEzo_m143 Lth la3ULtlo_-r-t--if}¢0O-o_--_ _.__._ _o_222o_¢
LEG STAND MODEL NO. 137.228010CRAFTSMAN 10" TABLE SAW LEG STANDPARTS LIST FOR SCHEMATIC EMODEL NO. 137.228010SCHEMATIC EKey Part Number Descripti
!_iii! /ii_!!J;{ fC/-/JJ0oN//"_ 0Z O O _ooo___._,_ ob_,. _O_o___D/////!///o-_"_ OO --(1)O T-o-d_ '+_ O(D OO _"09_J/////1o _..j:: _
SECTION PAGEWarranty ... 2Product Specifications ...
24. WARNING: Dust generated from certain materials can 14. AVOID AWKWARD OPERATIONS and handbe injurious to your health. Always operate saw in well po
RECOMMENDED ACCESSORMESVisit your Sears Hardware Department or see theCraftsman Power and Hand Tools Catalog to purchaserecommended accessories for th
ExtensionwingRipfencemitergaugestorageBladetiltpointerMounlingholesBladescaleRipfence--BladeguardTableinsertMilergaugeExtensionrail!Tableextensionlock
SAWMOUNTED TO OTHER WORK SURFACES (FIG. C)To avoid fire hazard and possible injury:- The choice of work surface should provide access tothe area under
CHANGINGTHEBLADE(FIG.I)Toavoidinjury:,, From an accidental start, make sure the switch is inthe OFF position and the power cord is not pluggedinto the
BLADE ALIGNMENT (FIG. P )The proper blade alignment is set at the factory, but shouldbe rechecked and adjusled if necessary. Recheck thesplitter align
RAISING THE BLADE (FIG.T)To raise or lower the blade, turn the blade elevationhandwheel (1) to the desired blade height. Tighten lockhandle (2) to mai
Related products and manuals for Power tools Craftsman 137.228010
 (40 pages)
 (60 pages)
 (28 pages)
© 2020, manymanuals.com. All rights reserved. | 3.613 s |
 Manymanuals.com
 Manymanuals.de
 Manymanuals.fr
 Manymanuals.it
 Manymanuals.pl
 Manymanuals.cz
 Manymanuals.es
 Manymanuals-pt.com
Comments to this Manuals