Craftsman 900.277300 Operator's Manual
Browse online or download Operator's Manual for Power tools Craftsman 900.277300. Craftsman 900.277300 Operator`s manual User Manual
- Page / 31
- Table of contents
- BOOKMARKS
- CRRFTSMRNo 1
- IMPORTANT SAFETY 2
- INSTRUCTIONS 2
- SAFETY INSTRUCTIONS 2
- FOR ALL TOOLS 2
- SAVE THESE 3
- INTRODUCTION 4
- OVERVIEW 4
- THE CONTROLS 5
- GENERALOPERATION 7
- APPLICATIONS 8
- Repeatfor each layoutmark 9
- # FENCE ANGLE SETTING 11
- OF SIDES JOINT ANGLE 11
- IMPORTANT 12
- LEAD FROM 13
- R SUPPLY CORD 13
- PARTS LIST 14
- 1-800-366-PART 15
- 1-800-4-REPAIR 15
- CRI:I.FTSMI:1No 16
- DOBLEAISLAMIENTO 17
- CLAVIJAPOLARIZADA 17
- INSTRUCCIONES 19
- INTERRUPTOR 20
- LOSCONTROLES 21
- OPERACIONGENERAL 23
- APLICACIONES 24
- IMPORTANTE 28
- ACCESORIOS 28
- Oo?O_ooooo_ oo 30
Summary of Contents
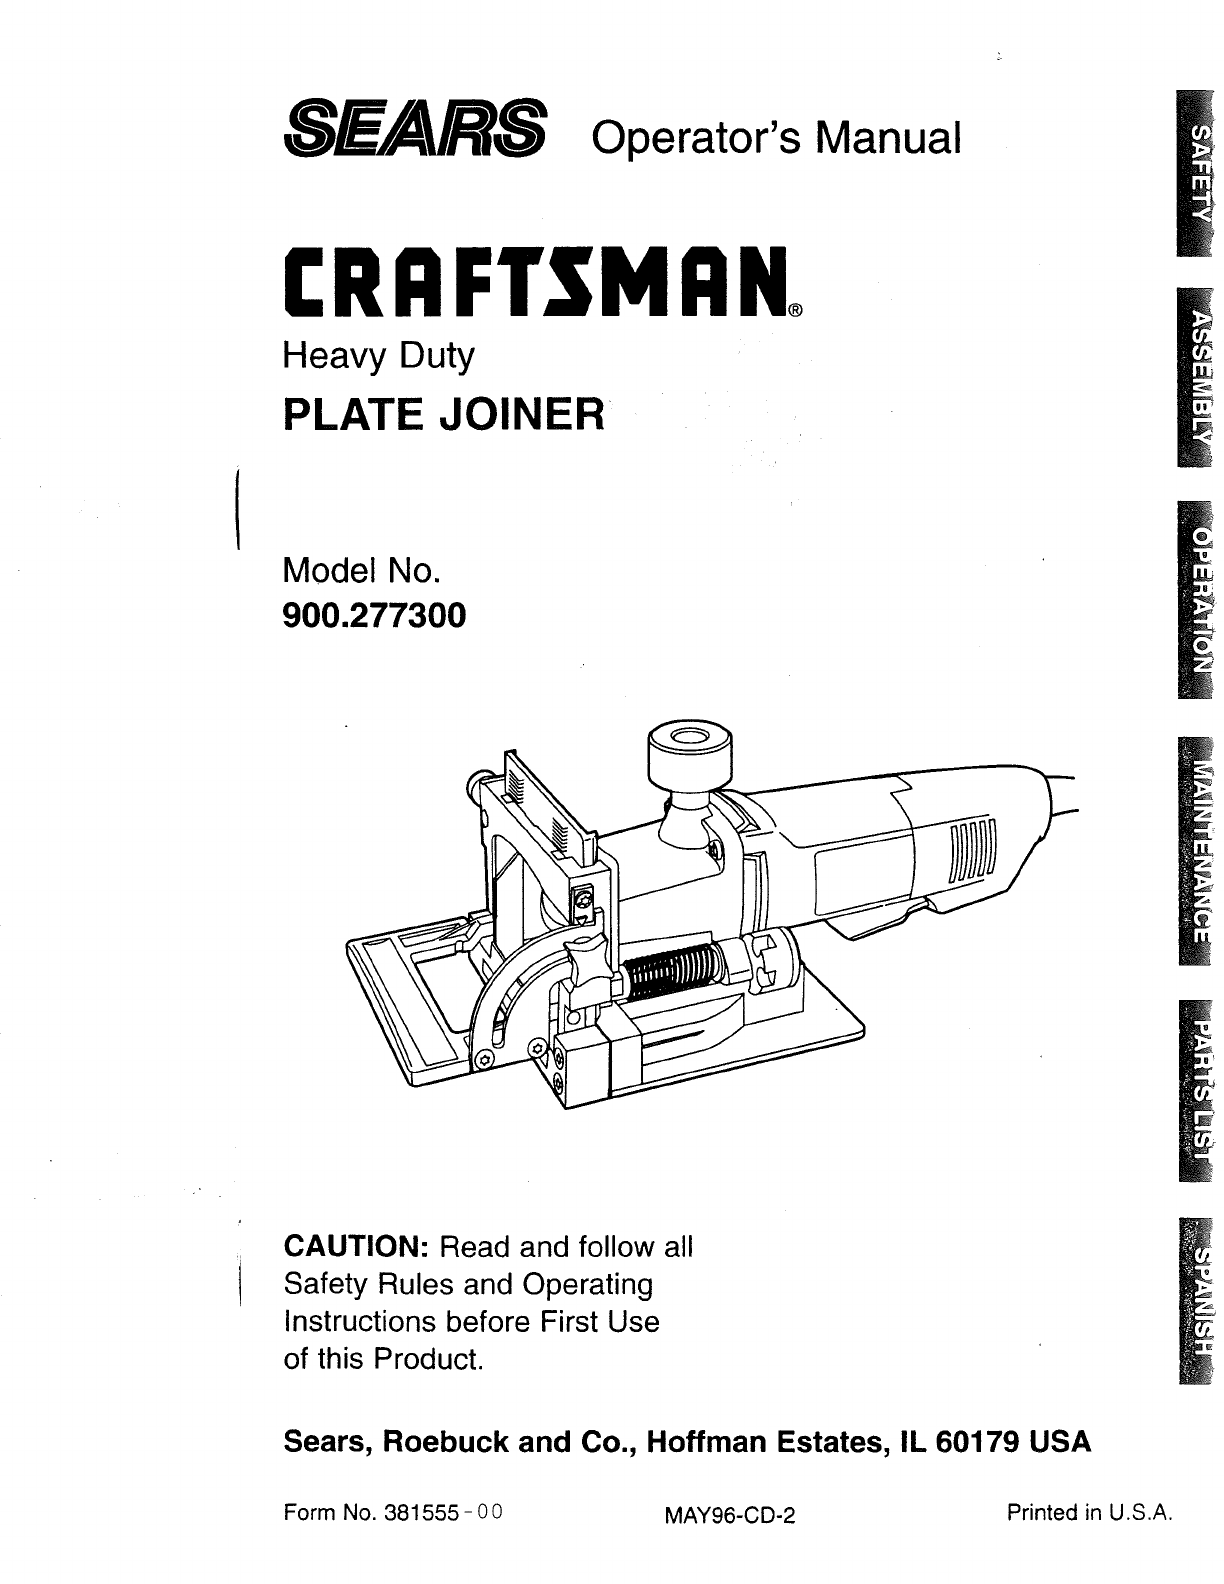
___/'j-__ Operator's ManualCRRFTSMRNoHeavy DutyPLATE JOINERModel No.900.277300CAUTION: Read and follow allSafety Rules and OperatingInstruct
E.Figure 21. Turn the tool on, makethe plunge cut and repeat for eachlayout mark.Glue, assemble and clamp the joint.FIG 20FIG 214. OFFSET JOINTS (SEE
FIG24 F. Glue,assembleand clampthe joint.Insideedge G. Forjoints otherthan90° see InsideRegistrationcolumnin Figure26forPositionbiscuit properfence an
C,O.Set up the tool by selecting theproper biscuit size and setting theadjustable fence angle at 0 °.Using the bottom registrationsurface, align the t
SEARS HEAVY DUTY PLATE JOINER -- MODEL NUMBER 900.277300._.1.28 7 57134 43 35_5 601 11 _594 \ 4637_- vo,@64"_ 73WHITELEAD FROMR SUPPLY CORDLEADFR
SEARS HEAVTY DUTY PLATE JOINER -- MODEL NUMBER 900.277300The model number will be found on a nameplate attached to the handle. Alwaysmention the Model
For the repair or replacement part you needdelivered directly to your homeCall 7 am -- 7 pm, 7 days a week1-800-366-PART(1-800-366-7278)PARA ORDENAR P
_.____._ Manual de operaci6nCRI:I.FTSMI:1NoPara trabajo pesadoENSAMBLADORA PARATRABAJO PESADOModelo No.900.277300PRECAUClON: Lea y siga todas lasregla
Garantia completa por un a_o en la Ensambladora Industrial CraftsmanSiesta Ensambladora Industrial Craftsman falla debido a material o mano de obradef
• CONSERVE APARTADOS A LOSNINOS. No permita que losvisitantes toquen las herramientas olos cables de extensi6n. Losvisitantes deben estar alejados del
CORDONES DE EXTENSION.Asegt3rese que su cord6n deextensi6n est_ en buenascondiciones. Cuando utilice uncord6n de extensi6n, asegQrese deusar uno con e
Full one year warranty on Craftsman Industrial Plate JoinerIf this Craftsman Industrial Plate Joiner fails due to a defect in material or workmanshipw
trabajode precisi6nen madera.Lafunci6nde la ensambladoraes permitirlehacerensamblesextremadamenteresistentesyprecisosen maderay productosderivadosde e
,dientes de la cuchilla apuntan ensentido contrario a las manecillasdel reloj, como se observa en lafigura 4.IMPORTANTE: Siempre revise elajuste fino
marcaroja grabadaen la carcazade laherramienta,comose observaen lafigura 7. Gire la perillade ajustedeprofundidada la posici6ndeseadaychasquear_en su
6. EXTRACCION DE POLVOSu herramienta cuenta con dos opcionespara recolectar el polvo de madera que suensambladora genera, como se describe acontinuaci
espigasmas pequeSospara evitartraspasarel extremodel ensamble.Debeevitarsetraspasarlas piezas,siemprequesea posible,pero si no es as/, ustedpuederecor
B. Separelas espigasa 5 6 7,5 cm delos extremosy 15 a 25 cm entre loscentrosde _stas.FIG 15caja y la pared exterior y entre lascajas mismas (observe l
GoH.corte.Repita para cada caja.ASada el pegamento, ensamble yprense el marco.hacer el primer corte (observe la FIG 21figura 19).FIGF. Encienda la her
F. Afiada el pegamento, ensamble yprense la uni6n.5. ENSAMBLES ANGULARES(FIGURA 23)Los ensambles angulares se utilizanprincipalmente en estructuras de
FIG 276. ENSAMBLES EN 'T'Los ensambles de caja y espiga son unaalternativa viable para ranurar cuando sequiera hacer un ensamble en 'T&
o0o')F-o4o0rrLUZ0.Jwr_oILU0a,,_(/1iiia.,0O0,,:1frT_e_zLu14
be caughtin movingparts. Rubberglovesand non-skidfootweararerecommendedwhenworkingoutdoors.Wearprotectivehaircoveringto containlong hair.• USE SAFETY
oILld-_.oZ"r-" _(1) "(:3_-_ _c 0) 0j"0 "0 "--.-- C 0 •_'Xo- c.'_-_(D- oC-0 _ 0.Io_° oc_..,1 LU_'_ _c _o--
For the repair or replacement part you needdelivered directly to your homeCall 7 am m 7 pm, 7 days a week1-800-366-PART(1-800-366-7278)PARA ORDENAR PI
INTRODUCTIONExamine Figure 1 and your plate joiner fora few minutes to become familiar with thevarious features and the names used to_ describe thefn.
..FIG 4pin on the top of the gear case tohold the spindle while you unscrewthe nut.Remove the blade and have itsharpened or replace it with anew one.
coincidewiththe threesizes of biscuitsshownin Figure2. The letter Mstandsforthe maximumdepthcapacityof the toolwhichis 20mm(25/32").This depthiso
6. DUST EXTRACTIONThere are two options provided forcollecting dust from your plate joiner asdescribed below.A. Dust Adaptor (See Figure 10)This attac
the desiredbiscuit locations(seeFigure 14).SeeApplicationsectionformorespecificinformationonjoint layout.The marksyou makewill then be alignedwithone
paddleswitchto turnthe tooloff.Repeatfor each layoutmark.FIG16E.F.Glue, assemble and clamp the joint.For stock thicker than 1", you maywish to us
Related products and manuals for Power tools Craftsman 900.277300

 (64 pages)
© 2020, manymanuals.com. All rights reserved. | 2.931 s |
 Manymanuals.com
 Manymanuals.de
 Manymanuals.fr
 Manymanuals.it
 Manymanuals.pl
 Manymanuals.cz
 Manymanuals.es
 Manymanuals-pt.com
Comments to this Manuals