Craftsman 315.275061 Owner's Manual
Browse online or download Owner's Manual for Power tools Craftsman 315.275061. Craftsman 315.275061 Owner`s manual [en] User Manual
- Page / 24
- Table of contents
- BOOKMARKS
- CRRFTSMRN° 1
- INTRODUCTION 2
- UNPACKING 4
- FEATURES 4
- I _2STOPBAR 9
- ADJUSTMENTS 10
- OPERATION 11
- MAINTENANCE 18
- HELPFUL HINTS 21
- SEE NOTE"A" 22
- PARTS LIST 23
- _A/k&g 24
Summary of Contents
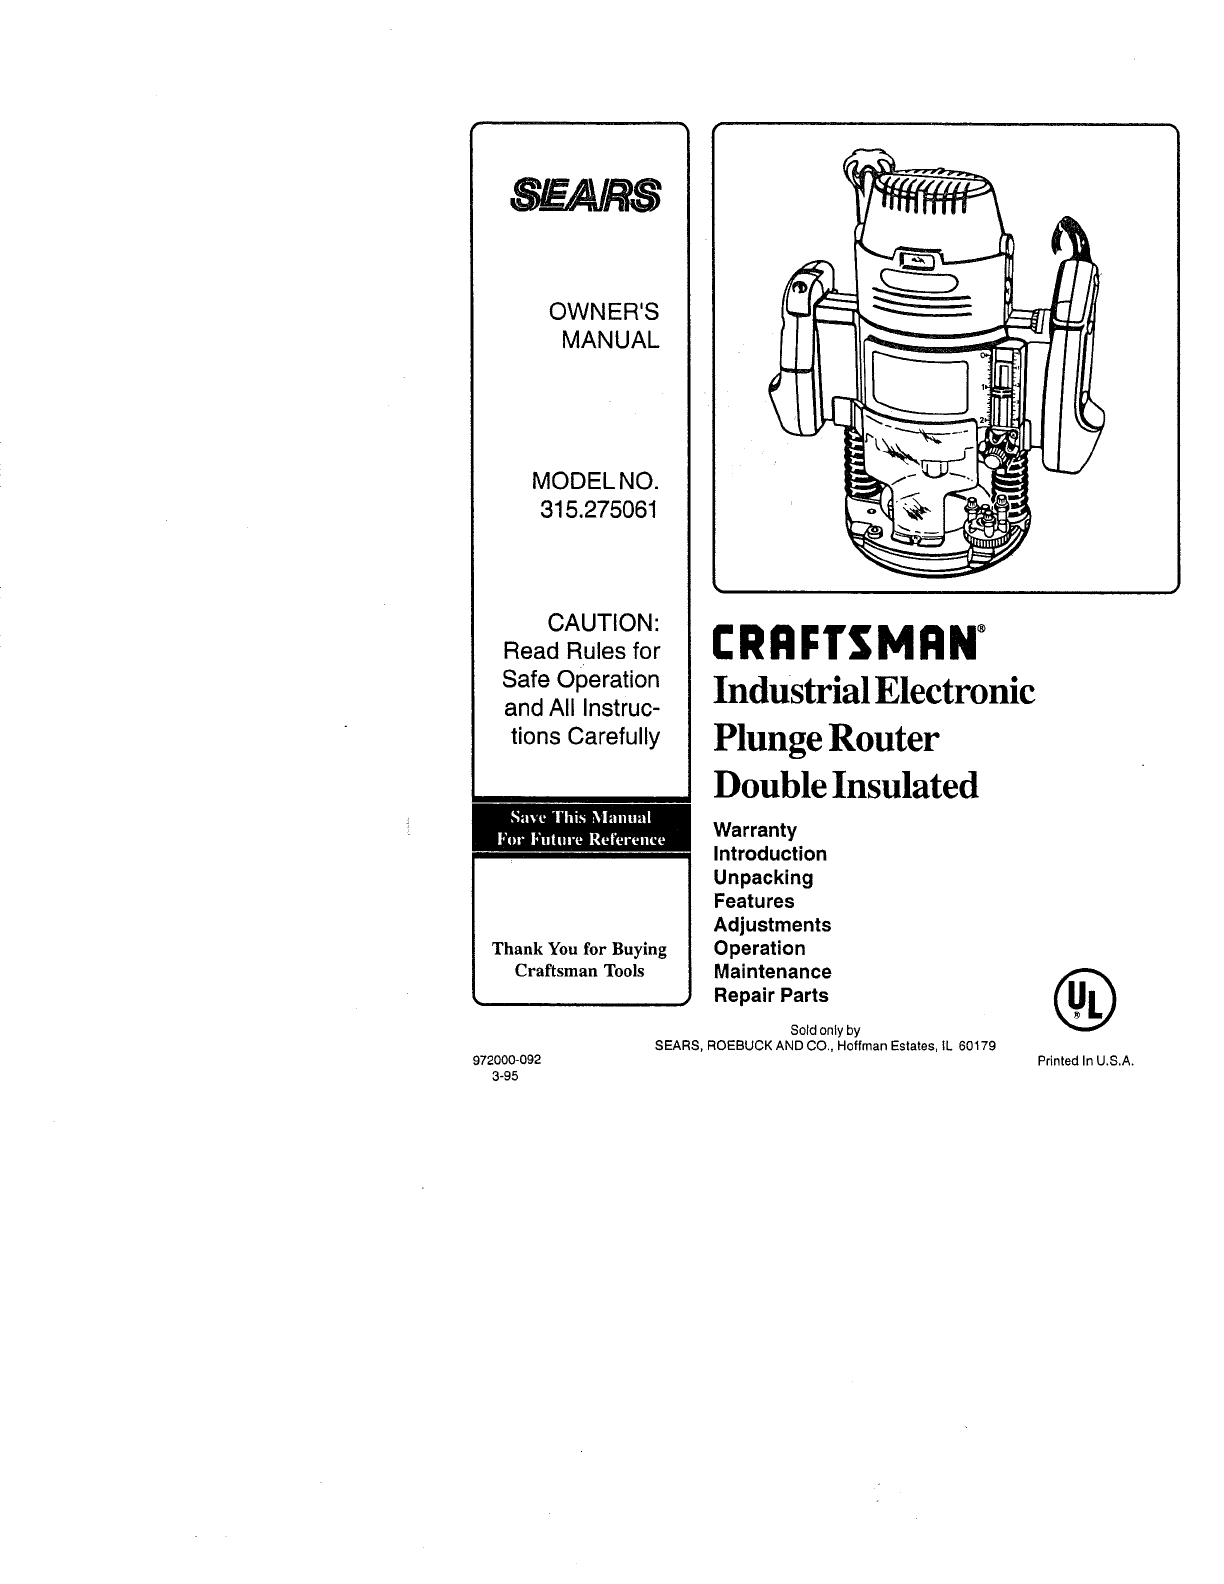
Sz:_AJ_OWNER'SMANUALMODELNO.315.275061CAUTION:Read Rules forSafe Operationand All Instruc-tions CarefullyCRRFTSMRN°Industrial ElectronicPlunge Ro
ADJUSTMENTSDEPTH STOP SYSTEM (Continued)5. Raise cutter by depressing plunge release actuator.6. Place routeron fiatsurface, and _ower routerunti_ tip
OPERATION"LOCK-ON" BUTTONSee Figure 13.The "on-off" trigger of your router is equipped with a "lock-on" feature which is
OPERATIONPROPER FEEDINGThe rightfeed is neither too fast nortoo slow. It is the rate atwhich the bit is being advanced firmly and surely to producea c
OPERATIONDEPTH OF CUTAs previously mentioned, the depth of cut isimportant be-cause it affects the rate of feed which, in turn, affects thequalityof a
OPERATIONEDGE ROUTINGPlace router on workplace, making sure the router bit doesnot contact workpieea. Turn router on and let motor build toits full sp
OPERATIONROUTING GROOVESSee Figure 22.When routingacross the face of boards, set router atdesireddepthof cut, placethe edge ofrouter base against work
OPERATIONROUTING WITH A ROLLER GUIDESee Figures 26 and 27.A roller guide has been supplied with your router, It is usefulfor routing uneven edges and
OPERATIONROUTING WITH GUIDE BUSHINGS (Cont'd)Secure template to the workpiece. Set router to desireddepth of cut and turn it on. Place routerbase
MAINTENANCEGENERALOnly the parts shown on parts list, page 23, are intended tobe repaired or replaced by the customer. All other partsrepresent an imp
MAINTENANCEPLUNGE LOCK ACTUATOR ADJUSTMENTSSee Figure 32.The plunge lock actuator has been properly set at the factoryand no initial adjustments shoul
FULL ONE YEAR WARRANTY ON CRAFTSMAN INDUSTRIAL ELECTRONIC PLUNGE ROUTERIf this Craftsman Industrial Electronic Plunge Router fails due to a defect in
MAINTENANCEDEPTH CONTROL KNOB ADJUSTMENTSSee Figure 34.The depth control knob is spring loaded against hex nut toprevent router motor from accidentlys
EXTENSION CORDSThe use of any extension cord will cause some loss of power.To keep the loss to a minimum and to prevent tool overheat-ing, follow the
CRAFTSMAN ROUTER - MODEL NUMBER 315.275061/10SEE NOTE"A"5O473856 _---4324 _2455NOTE: "A"- The assembly shown represents an importa
+.CRAFTSMAN ROUTER - MODEL NUMBER 315.275061I he model number witl be found on a plate attached to the motor housing. Always mention the model number
_A/k&gOWNER'SMANUALSERVICEMODELNO.315.275061HOW TO ORDERREPAI R PARTSIndustrial ElectronicPlunge RouterDouble InsulatedNow that you have pur
RULES FOR SAFE OPERATION (Continued)15. SECURE WORK. Use clamps or a vise to hold work. Both hands are needed to operate the tool,16. DON'T OVERR
UNPACKINGYour new plunge router comes fully assembled. After removing it from the box, inspect it carefully to make sure that it is notdamaged and tha
FEATURESKNOW YOUR ELECTRONIC ROUTERBefore attempting to use your router, familiarize yourself with all operating features and safety requirements. See
FEATURESREAR VIEW OF ROUTERDEPTH CONTROL KNOBVARIABLE SPEEDCONTROL SELECTORPOWER CORD\"LOCK-ON"BUTTONLOCKHANDLE"ON-(3TRIGGERSWITCH HAND
ADJUSTMENTSINSTALLING/REMOVING cUTrERSSee Figures 3, 4. and 5.1. UNPLUG YOUR ROUTER.Place the posileck spindle lock into lock posttion. SeeFigure 3. N
ADJUSTMENTSDEPTH OF CUT ADJUSTMENTSSee Figures 6, 7 and 8.When routing a groove that is too deep to safely cut inonepass, it is best to make the cut i
ADJUSTMENTSDEPTH CONTROL KNOBSee Figure 9.Fine adjustments can be made to the depth of cutby use ofthe depth control knob. Another primary use of the
Related products and manuals for Power tools Craftsman 315.275061
 (24 pages)
 (26 pages)
© 2020, manymanuals.com. All rights reserved. | 1.034 s |
 Manymanuals.com
 Manymanuals.de
 Manymanuals.fr
 Manymanuals.it
 Manymanuals.pl
 Manymanuals.cz
 Manymanuals.es
 Manymanuals-pt.com
Comments to this Manuals