Craftsman 390.2622 Owner's Manual
Browse online or download Owner's Manual for Water pumps Craftsman 390.2622. Craftsman 390.2622 Owner`s manual User Manual
- Page / 12
- Table of contents
- TROUBLESHOOTING
- BOOKMARKS
Summary of Contents
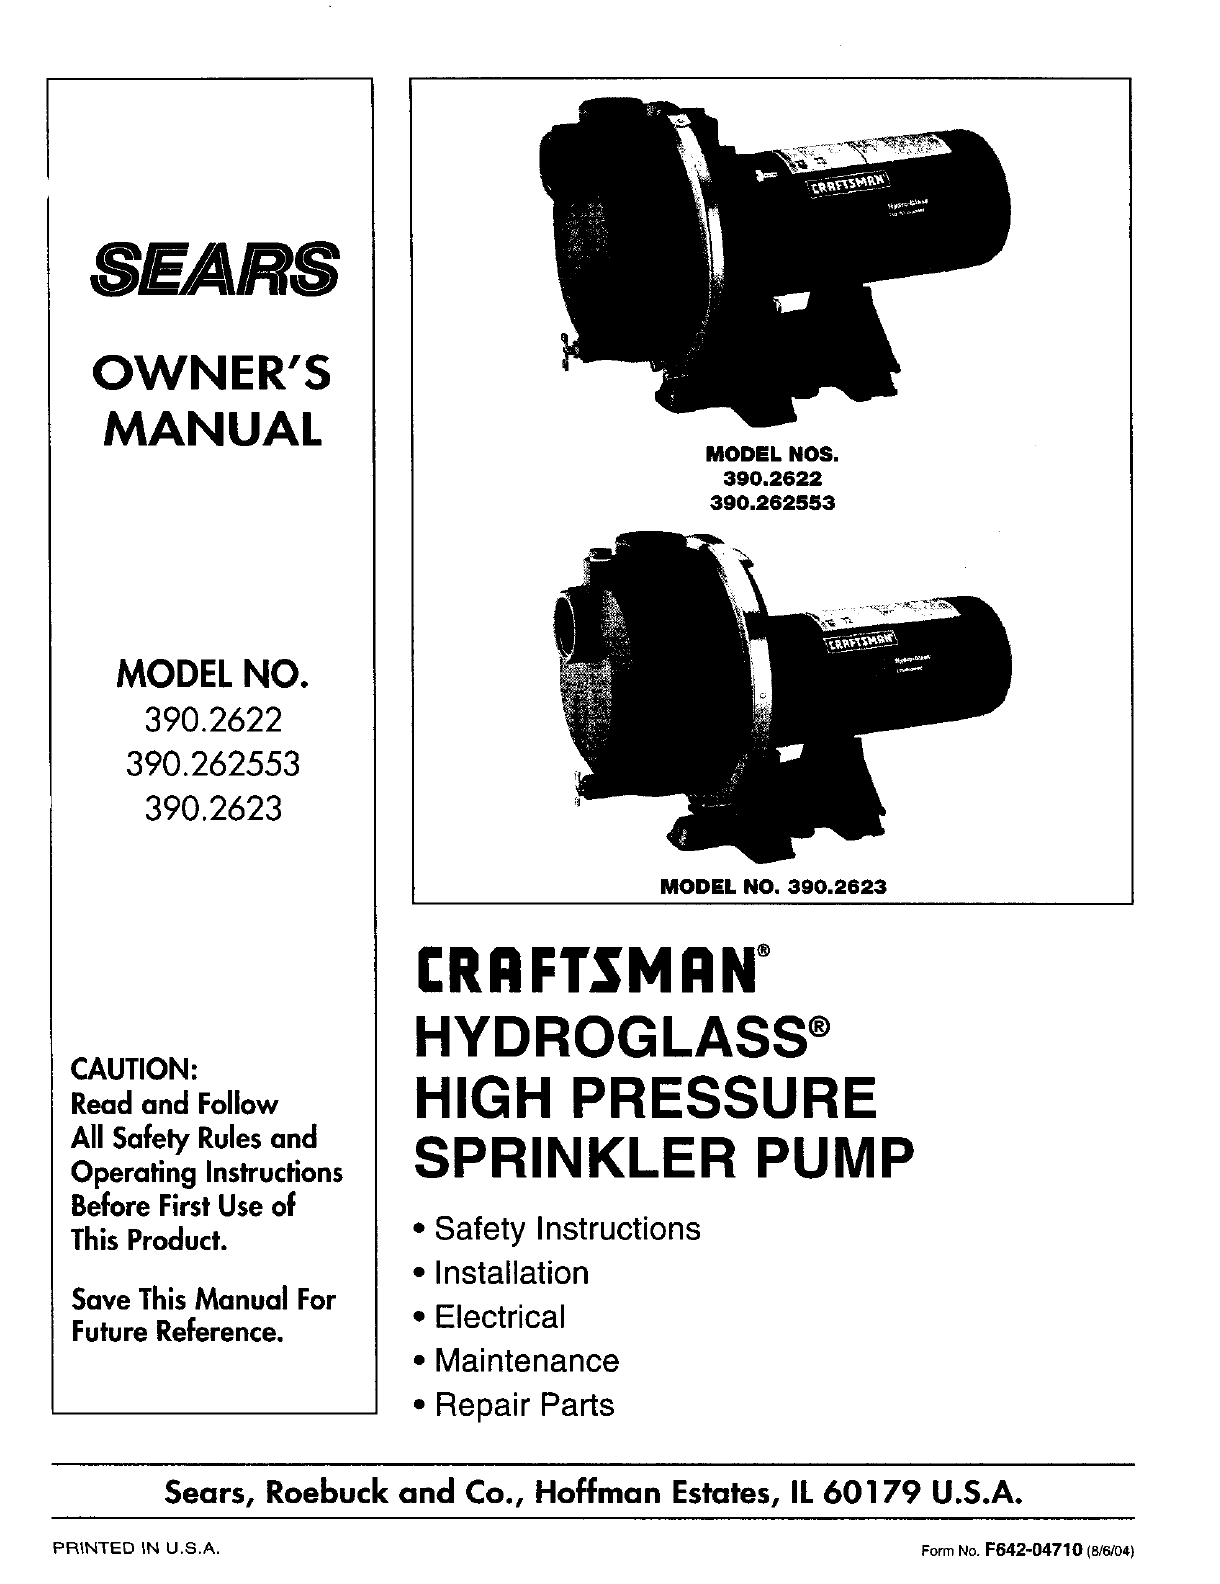
SEARSOWNER'SMANUALMODELNO.390.2622390.262553390.2623CAUTION:Read and FollowAll Safety RulesandOperating InstructionsBeforeFirstUse ofThis Product
TROUBLESHOOTING CHARTSYMPTOM CORRECTIVE ACTIONMotor will net run 1. Be sure switch is onPOSSIBLE CAUSE(S)1. Disconnect switch is off2. Fuse is blown3.
REPAIR PARTS16181213/8A11A129!011/MotorOverload ProtectorTerminal BoardContactorGovernorCapacitorSlingerPriming Plug 1/2" NPTPartDescriptionKeyNo
SEARSOWNER'SMANUALModel No.390.2622390.262553390.2623The model number ofyour Sprinkler Pump willbe found on a plateattached to the side ofthe pum
CONTENTSINTRO DU CTION/WARR.MNITy ... 2SAFETY ...
PREPARATION INSTALLATION (Continued)BASIC TOOLS AND MATERIALS NEEDEDPipe Wrenches ScrewdriverHacksaw Check ValveAdjustable Wrench Teflon TapeKnifeSuct
INSTALLATION (Continued)2. To aid priming on driven point installations, install a linecheck valve as shown in Figure 2. Be sure check valveflow arrow
ELECTRICALConnection diagram for dual voltage, single-phase motors.Your dual-voltage motor's terminal board (under the motorend cover) will match
ELECTRICAL (Continued)3. Disconnect power before servicing motor or pump. If thedisconnect switch is out of sight of pump, lock it openand tag it to p
OPERATIONPRIMING THE PUMPNOTICE: 'Priming' refers to the pump expelling all air in thesystem and beginning to move water from its source out
MAINTENANCEPump and piping need not be disconnected to repair or re-place motor or seal (see Figure 12). If motor is replaced, re-place the shaft seal
MAINTENANCE (Continued)4. Place pump body half face down on flat surface and tapout stationary half of seal (see Figure 16).9. Hold motor shaft with 7
Related products and manuals for Water pumps Craftsman 390.2622
 (14 pages)
© 2020, manymanuals.com. All rights reserved. | 0.072 s |
 Manymanuals.com
 Manymanuals.de
 Manymanuals.fr
 Manymanuals.it
 Manymanuals.pl
 Manymanuals.cz
 Manymanuals.es
 Manymanuals-pt.com
Comments to this Manuals