Craftsman 137.212371 Operator's Manual Page 1
Browse online or download Operator's Manual for Mitre saws Craftsman 137.212371. Craftsman 137.212371 Operator`s manual User Manual
- Page / 49
- Table of contents
- BOOKMARKS
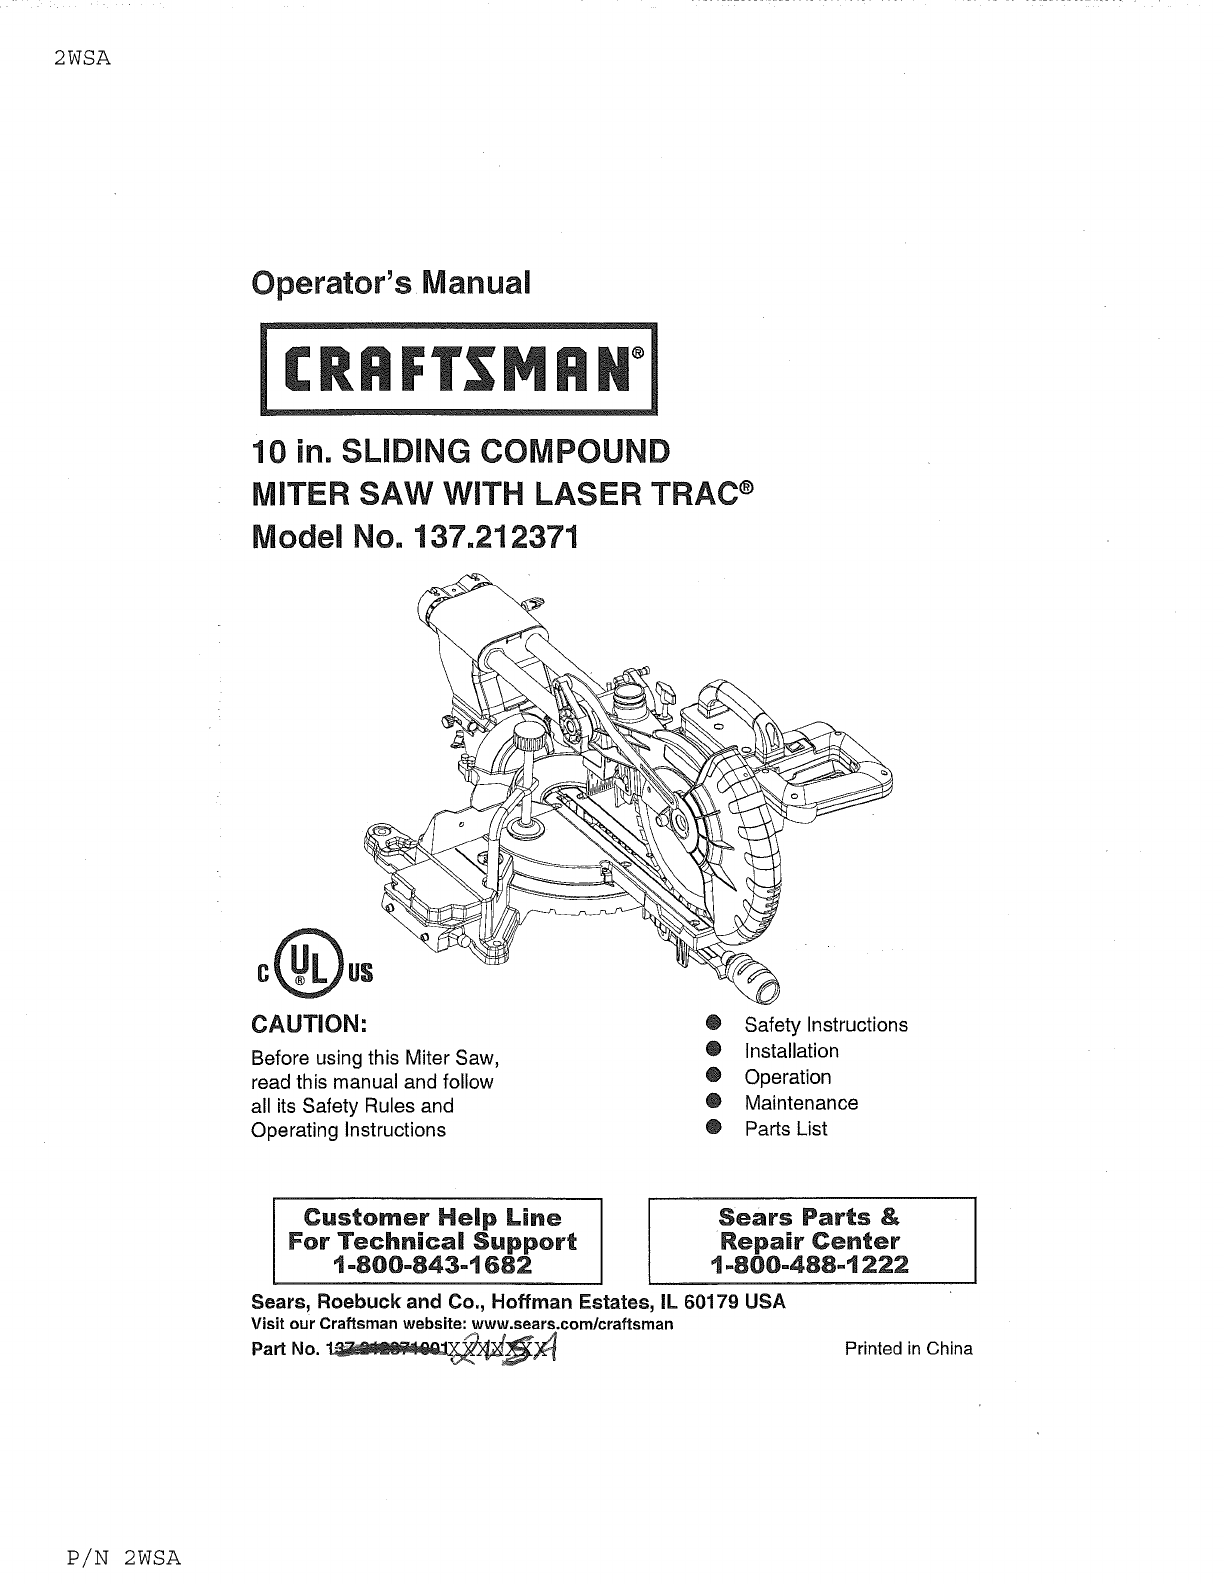
- Operator's Manual 1
- 10 in. SLiDiNG COMPOUND 1
- MITER SAW WiTH LASER TRAC ® 1
- Model No. 137.212371 1
- CRAFTSMAN FULL WARRANTY 2
- ,_ WARNING 2
- [A DANGERJ 4
- LA CAUTIONJ 4
- [, WARNINGI 5
- 12.ALWAYSWEAREYE 6
- 24.[,_ DANGER 1 7
- , 10
- IAWARNING] 12
- Supplied Notsupplied 13
- [AWARNING I 14
- _WARNJNG 18
- ,_WARNING 18
- [AWARNING1 19
- I,_WARNING 20
- [ WARNINGI 22
- _WARNHNG 23
- 2Unookthebeveookhandeandtt I 25
- [,_WARNING 1 27
- I WARNINGJ 28
- [ WARNHNG l 29
- IAWARN=NGJ 30
- Themitersawisequippedwithan 31
- CUTTINGBOWED MATERIAL 34
- Workpiece 35
- Compound Cut Crown Moldings 35
- CROWN MOLDING CHART 37
- [,_WARNJNG ] 38
- _WARNING I 38
- _WARNING] 38
- I,AWARNINGJ 40
- _.WARNING 41
- I,AWARNING ] 42
- SCHEMATIC A 43
- MODEL NO. 137.212371 44
- SCHEMATIC B 45
- Your Home 49
- Our Home 49
Summary of Contents
2WSAOperator's Manual10 in. SLiDiNG COMPOUNDMITER SAW WiTH LASER TRAC ®Model No. 137.212371CAUTION:Before using this Miter Saw,read this manual a
POWER SUPPLY AND MOTORSPECIFICATIONSThe AC motor used in this saw isa universal, nonreversible type.See "MOTOR" in the "PRODUCTSPECIFIC
4. FUSES may "blow" or circuitbreakers may trip frequently if:a. MOTOR is overloaded -overloading can occur if you feedtoo rapidly or make t
RECOMMENDED ACCESSORIES[,_WARNING J® Use only accessoriesrecommended for this mitersaw. Follow instructions thataccompany accessories. Use ofimproper
Supplied NotsuppliedBlade WrenchAdjustable Wrench Phillips ScrewdriverHex Wrench ... Slotted Screwdriver, Combination-Square--COMBINATION SQUARE MUS
UNPACKING YOUR MITER SAW[_WARNINGTo avoid injury from unexpectedstarting or electrical shock, do notplug the power cord into a sourceof power during u
BevelDetentPinCarryingHandleUpperBladeGuardLaserON/OFFSwitchSwitchHandleBevelLockingHandleHold-DownClampON/OFFTriggerSwitch,/Mounting HoleBladeLaser G
AMPERAGE (AMPS) - A measureof the flow of electric current. Higherratings generally means the tool issuited for heavier use.ARBOR LOCK - Allows the us
-i!f :!ii_i L ::: :k;! :ii ' ::!::'; :!?_::! :_"-"T :??':_ : ¸ ¸ " :L • • LcPOSITIVE STOP LOCKING LEVER -Locks the miter
Estimated Assembly Time: 5-10minutes,_WARNINGTo avoid injury, do not connectthis miter saw to the power sourceuntil it is completely assembled andadju
LockingWhentransportingorstoringthemitersaw,thecuttingheadshouldalwaysbelockedinthedownposition.1. Pushthecuttingheaddowntoitslowestposition.2. Pushth
SECTION PAGEWarranty ... 2Product Specifications ...
® Donotstarttheslidingcompoundmitersawwithoutcheckingforinterferencebetweenthebladeandtableinsert.Damagecouldresulttotheblade,tableinsertorturntableif
.For portable use, place the saw ona 3/4 in. thick piece of plywood. Boltthe base of the miter saw securelyto the plywood using the mountingholes on t
Installing Blade (Fig. K, L, M)Unplug the miter saw before changing/installing the blade.1. Install a 10 in. blade with a 5/8 in.arbor, making sure th
o Laser beam is calibrated and set upto project to the left of the blade.(Fig. N-l)® If you have any problem or questionon the laser guide, please cal
BEVEL STOP ADJUSTMENT,_WARNINGTo avoid injury from an accidentalstart, make sure the switch is inthe OFF position and the plug isnot connected to the
4. Tiltthecuttingarmtotheleftto45°bevelandrecheckforalignment.5. Repeatsteps1through4 untilthebladeisat45°to themitertable.6. Tightenbevellockhandle(7
ADJUSTING FENCE SQUARENESS(FIG. S)1. Loosen the four fence lockingbolts (1).2. LOWERTHE CUTTING ARM ANDLOCK IN POSITION.3. Using a square (3), lay the
SAFETY INSTRUCTIONS FOR BASICSAW OPERATIONSBEFORE USING THE MITER SAW[,_WARNING 1To avoid mistakes that could causeserious, permanent injury, do notpl
• :., :, <:_-:::_--,, i_:_¸ : _:_Lt" • ,: _._ _ :accessories may cause risk ofinjury.® Choose the correct 10 in. blade forthe material and the
DONOTOVERREACHKeepgoodfootingandbalance.Keepyourfaceandbodytooneside,outofthelineofa possiblekickback.NEVERstandinthelineoftheblade.Nevercutfreehand:®
MOTORPower Source ... 120V AC, 60Hz, 15 AmpArbor Shaft Size ...
BODY AND HAND POSITION (FIG. U)Never place hands near thecutting area. Properpositioning of your bodyand hands when operating the mitersaw will make c
Themitersawisequippedwithanautomaticbladebrake.Whenthetriggerswitchisreleased,theelectricbladebrakewillstopthebladewithinapproximately6seconds._WARNIN
Fig. X\3BEVEL CUT (FIG. Y)1. When a bevel cut is required, loosenthe bevel lock handle (1) by turningit clockwise.2. Tilt the cutting head to the desi
SLIDE CUTTING WIDE BOARDS UPTO 12 in. WIDE (FIG. BB),_WARNINGTo avoid injury:o Never pull the cutting headassembly and spinning blade towardyou during
CUTTINGBOWED MATERIAL(FIG. DD)A bowed workpiece must be positionedagainst the fence and secured witha clamping devise before cutting asshown. Do not p
1. Alwaysmakesuremoldingsrestfirmlyagainstfenceandtable.Usehold-downorC-clamps,wheneverpossible,andplacetapeontheareabeingclampedto avoidmarks.2. Redu
BEVEL MITERKEY TYPE OF CUTSETTING SETTINGInside corner-Left sideIL 33.9 ° 31.6 ° Right 1. Position top of molding against fence.2. Miter table set at
CROWN MOLDING CHARTCompound Miter SawMiter and Bevel Angle SettingsWall to Crown Molding Angle52/38= CrownMolding 45/45' Crown Molding 52/38= Cro
MAINTENANCEDANGER]Never put lubricants on the bladewhile it is spinning,[,_WARNJNG ]® To avoid fire or toxic reaction,never use gasoline, naphthaaceto
LUBRICATION(FIG.KK)Allthe motorbearingsin thistoolarelubricatedwitha sufficientamountofhigh-gradelubricantfor thelifeof theunitundernormaloperatingcon
WARNING ICONSYour power tool and its Operator's Manual may contain "WARNING ICONS"(a picture symbol intended to alert you to, and/or in
I,AWARNINGJTo avoid injury from accidental starting, always turn switch OFF and unplugthe tool before moving, replacing the blade or making adjustment
_.WARNINGTo avoid injury from accidental starting, always turn switch OFF and unplugthe tool before moving, replacing the blade or making adjustments.
10 IN. SLIDING COMPOUND MITER SAW MODEL NO. 137.212371I,AWARNING ]When servicing use only CRAFTSMAN replacement parts. Use of any otherparts many crea
10 IN. SLIDING COMPOUND MITER SAW MODEL NO. 137,212371SCHEMATIC A"T"/
10 IN. SLIDING COMPOUND MITER SAWPARTS LIST FOR SAW SCHEMATIC BMODEL NO. 137.212371I.D. Description Size07WD SLIDE PLATE084W WARNING LABEL091S COMPRES
10 IN. SLIDING COMPOUND MITER SAWSCHEMATIC BMODEL NO. 137.2123712VN6OJM f2VEPOJE72WEB2W9CDJ7G2VNIOJBGOJ4M- 2WUV/H2KHE2VH6_OK7X2VN3OKDU OKD82OKD7626LU4
10 IN. SLIDING COMPOUND MITER SAW MODEL NO. 137.212371PARTS LIST AND SCHEMATIC FOR MOTORI.D. DescriptionOHX9 NEEDLE BEARINGOJCD SPRING PINOJX2 HEX.-SO
Congratulations on making a smart purchase. Your new Craftsman® productis designed and manufactured for years of dependable operation. But like allpro
ijiii!iiiiYour HomeFor expert troubleshootingand home solutionsadvice:managewww.managemyhome.comFor repair- in your home - of all major brand applianc
GENERAL SAFETY INSTRUCTIONSBEFORE USING THIS POWER TOOL,Safety is a combination of commonsense, staying alert and knowing how 7.to use your power tool
12.ALWAYSWEAREYEPROTECTION. Any powertool can throw foreignobjects into the eyes andcould cause permanenteye damage. ALWAYS wear SafetyGoggles (not gl
22.MAINTAIN TOOLS WITH CARE.Keep tools sharp and clean for bestand safest performance. Followinstructions for lubricating andchanging accessories.23.W
SPECIFIC SAFETY INSTRUCTIONSFOR THIS COMPOUND MITER SAW.IMPORTANT: DO NOT USETHIN KERF BLADES. They candeflect and contact the blade guardand cause po
20.MAKESUREthebladehascometoa completestopbeforeremovingorsecuringtheworkpiece,changingtheworkpieceangleorchangingtheangleoftheblade.21.NEVER cut meta
Related products and manuals for Mitre saws Craftsman 137.212371
 (19 pages)
 (84 pages)
© 2020, manymanuals.com. All rights reserved. | 0.043 s |
 Manymanuals.com
 Manymanuals.de
 Manymanuals.fr
 Manymanuals.it
 Manymanuals.pl
 Manymanuals.cz
 Manymanuals.es
 Manymanuals-pt.com
Comments to this Manuals