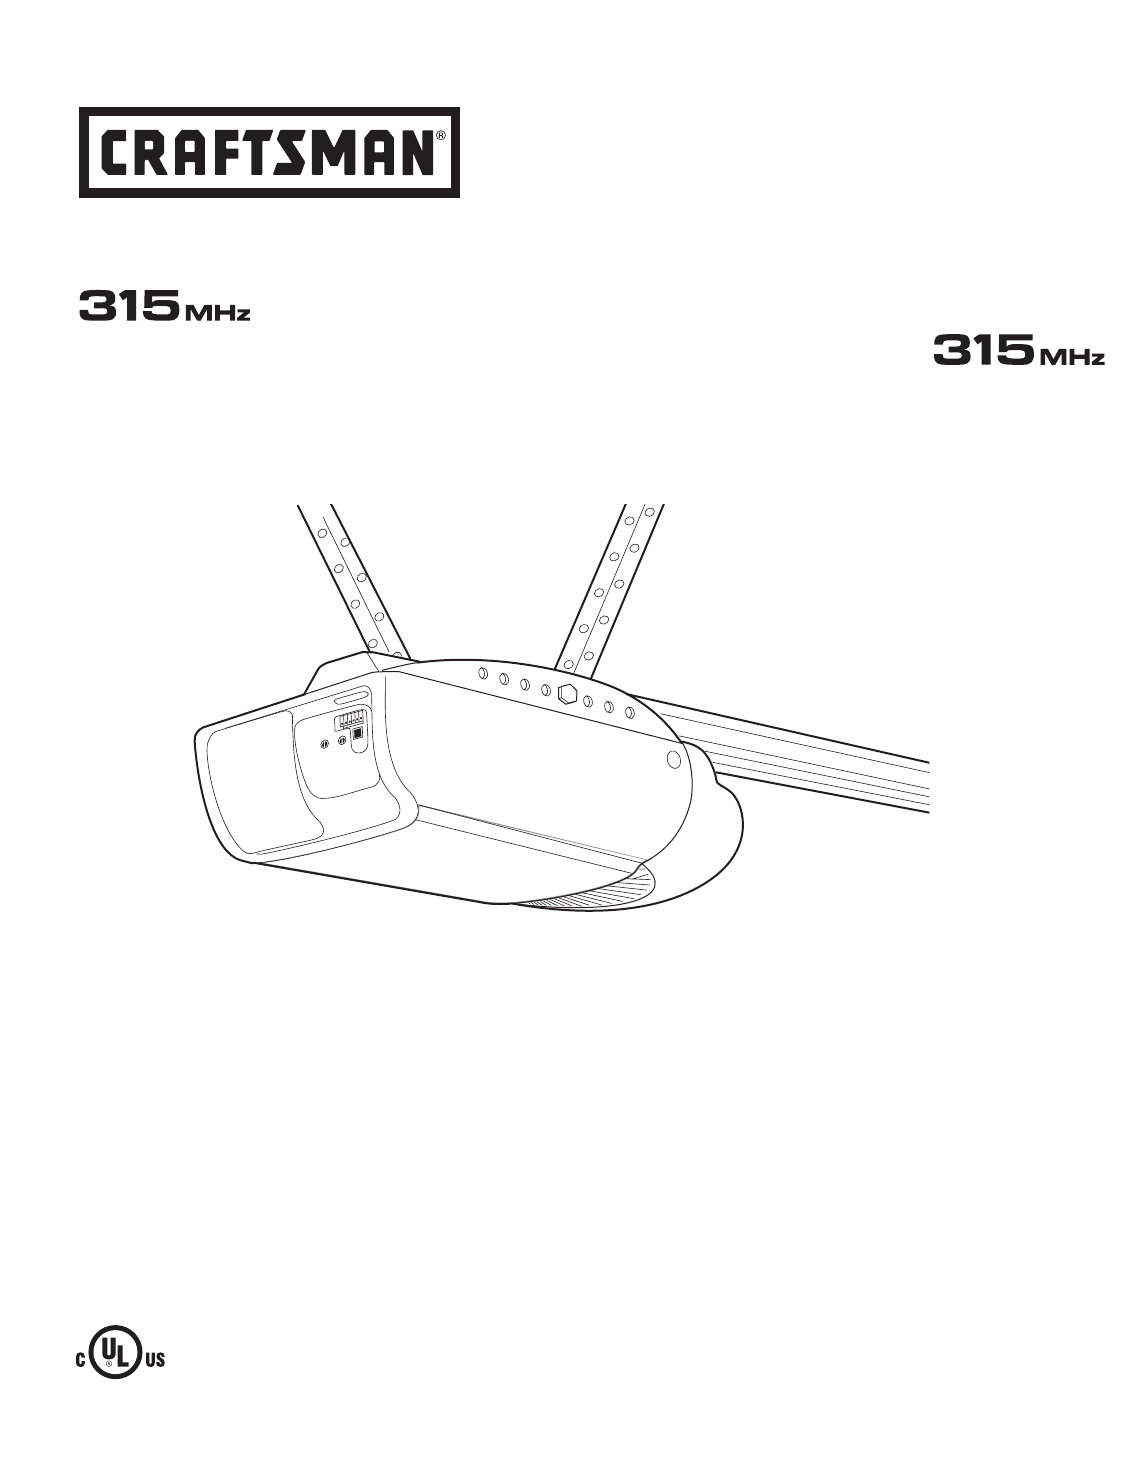
Craftsman 139.53992D Owner's Manual
Browse online or download Owner's Manual for Garage Door Opener Craftsman 139.53992D. Craftsman 139.53992D Owner`s manual User Manual
- Page / 76
- Table of contents
- BOOKMARKS
- GARAGE DOOR OPENER 1
- TABLE OF CONTENTS 2
- INTRODUCTION 2
- Preparing your garage door 3
- Tools needed 3
- Planning 4
- Planning (Continued) 5
- Carton Inventory 6
- Hardware Inventory 7
- ASSEMBLY STEP 1 8
- Assemble the Rail (Continued) 9
- ASSEMBLY STEP 2 10
- INSTALLATION 11
- ASSEMBLY STEP 3 11
- INSTALLATION STEP 1 12
- INSTALLATION STEP 2 13
- INSTALLATION STEP 3 14
- INSTALLATION STEP 4 15
- INSTALLATION STEP 5 18
- INSTALLATION STEP 6 19
- INSTALLATION STEP 7 20
- INSTALLATION STEP 8 21
- INSTALLATION STEP 9 21
- INSTALLATION STEP 10 22
- INSTALLATION STEP 11 22
- INSTALLATION STEP 12 23
- INSTALLATION STEP 13 25
- ADJUSTMENT STEP 1 27
- ADJUSTMENT STEP 2 28
- ADJUSTMENT STEP 3 29
- ADJUSTMENT STEP 4 29
- IMPORTANT SAFETY INSTRUCTIONS 30
- To Open the Door Manually 31
- Using the Wall-Mounted 31
- Door Control 31
- CARE OF YOUR OPENER 32
- HAVING A PROBLEM? 33
- Diagnostic Chart 34
- *3-Function Remotes 35
- KEY PART 37
- NO. NO. DESCRIPTION 37
- ACCESSORIES 39
- WARRANTY 39
- CONTENIDO 40
- INTRODUCCIÓN 40
- Preparación de la puerta de 41
- Herramientas necesarias 41
- Planificación 42
- Planificación (continúa) 43
- CEILING MOUN 44
- Inventario de piezas 45
- MONTAJE, PASO 1 46
- MONTAJE, PASO 2 48
- MONTAJE, PASO 3 49
- INSTALACIÓN 49
- INSTALACIÓN, PASO 1 50
- Pedazo de madera 50
- INSTALACIÓN, PASO 2 51
- INSTALACIÓN, PASO 3 52
- INSTALACIÓN, PASO 4 53
- Figura 1 54
- Figura 2 54
- Figura 3 54
- Figura 4 54
- INSTALACIÓN, PASO 5 56
- INSTALACIÓN, PASO 6 57
- INSTALACIÓN, PASO 8 59
- INSTALACIÓN, PASO 9 59
- INSTALACIÓN, PASO 10 60
- INSTALACIÓN, PASO 11 60
- INSTALACIÓN, PASO 12 61
- INSTALACIÓN, PASO 13 63
- AJUSTES, PASO 1 65
- AJUSTES, PASO 2 66
- AJUSTES, PASO 3 67
- AJUSTES, PASO 4 67
- OPERACIÓN 68
- Posición con el seguro 69
- (desconexión manual) 69
- Para reconectar 69
- MANTENIMIENTO DE SU 70
- ABRIDOR DE PUERTA DE 70
- SI TIENE ALGÚN PROBLEMA 71
- Falla el circuito impreso 72
- CÓMO PROGRAMAR EL ABRIDOR 73
- ACCESORIOS 75
- GARANTÍA 75
- Your Home 76
- 1-800-4-MY-HOME 76
- Our Home 76
- 1-800-488-1222 76
Summary of Contents
Sears, Roebuck and Co., Hoffman Estates, IL 60179 U.S.Awww.sears.com/craftsmanOwner’s Manual/Manual Del PropietarioRead and follow all safety rules an
ASSEMBLY STEP 2Fasten the Rail To the Motor Unitand Install the TrolleyNOTE: To aid in assembly and installation, replacethe foam packing around the m
11INSTALLATIONASSEMBLY STEP 3Attach the Rail Brackets• Align rail brackets to end of rail assembly, asshown. • Insert two 1/4"-20 x 5/8" h
INSTALLATION STEP 1Determine the Header BracketLocationInstallation procedures vary according to garage doortypes. Follow the instructions which apply
13INSTALLATION STEP 2Install the Header BracketYou can attach the header bracket either to the wallabove the garage door, or to the ceiling. Follow th
14INSTALLATION STEP 3Attach the Rail to the HeaderBracket• Position the opener on the garage floor below theheader bracket. Use packing material as ap
15Invisible Light BeamProtection AreaSafety Reversing Sensor6" (15 cm) max. above floorSafety Reversing Sensor6" (15 cm) max. above floorFac
16DOOR TRACK MOUNT (RIGHT SIDE)IndicatorLightLensLip SensorBracketDoorTrackFLOOR MOUNT (RIGHT SIDE)WALL MOUNT (RIGHT SIDE)IndicatorLightSensorBracketL
17Carriage Bolt 1/4"-20x1/2"LensWing Nut1/4"-20Figure 5MOUNTING AND WIRING THE SAFETY SENSORS• Slide a 1/4"-20x1/2" carriage
18ONE-PIECE DOOR WITHOUT TRACKA 2x4 on its side is convenient for setting an idealdoor-to-rail distance. • Remove foam packaging.• Raise the opener on
19INSTALLATION STEP 6Hang the OpenerThree representative installations are shown. Yoursmay be different. Hanging brackets should be angled(Figure 1) t
2TABLE OF CONTENTSWhen you see these Safety Symbols and SignalWords on the following pages, they will alert you tothe possibility of serious injury or
20INSTALLATION STEP 7Install the Door ControlLocate door control within sight of door, at a minimumheight of 5 feet (1.52 m) where small children cann
21INSTALLATION STEP 8Electrical RequirementsTo avoid installation difficulties, do not run theopener at this time.To reduce the risk of electric shock
22INSTALLATION STEP 10Install the Lights and Lens• Install a 100 watt maximum light bulb in eachsocket. Light bulb size should be A19, standardneck on
23Fiberglass, aluminum or lightweight steel garage doorsWILL REQUIRE reinforcement BEFORE installation ofdoor bracket. Contact your door manufacturer
24Horizontal and verticalreinforcement is needed forlightweight garage doors(fiberglass, aluminum, steel, door with glass panel, etc.).(Not Provided)H
25INSTALLATION STEP 13Connect Door Arm to TrolleyFollow instructions which apply to your door type asillustrated below and on the following page.SECTI
26ALL ONE-PIECE DOORS1. Assemble the door arm, Figure 4:• Fasten the straight and curved door arm sectionstogether to the longest possible length (wit
27ADJUSTMENT STEP 1Adjust the UP and DOWN TravelLimitsLimit adjustment settings regulate the points at whichthe door will stop when moving up or down.
28ADJUSTMENT STEP 2Adjust the ForceForce adjustment controls are located on the backpanel of the motor unit. Force adjustment settingsregulate the amo
29Without a properly installed safety reversal system,persons (particularly small children) could beSERIOUSLY INJURED or KILLED by a closing garagedoo
3To prevent damage to garage door and opener:• ALWAYS disable locks BEFORE installing and operatingthe opener. • ONLY operate garage door opener at 12
OPERATION Using Your Garage Door OpenerYour Security✚®opener and hand-held remotecontrol have been factory-set to a matching codewhich changes with ea
31To Open the Door ManuallyDISCONNECT THE TROLLEY:The door should be fullyclosed if possible. Pull downon the emergency releasehandle (so that the tro
THE REMOTE CONTROL BATTERYThe lithium battery shouldproduce power for up to5 years. To replace battery,use the visor clip orscrewdriver blade to pry o
33HAVING A PROBLEM?1. My door will not close and the light bulbs blinkon my motor unit: The safety reversing sensormust be connected and aligned corre
34Installed Safety Reversing Sensor — — — — — — — —LED orDiagnosticLED"Learn"ButtonDiagnosticsLocated OnMotor UnitYour garage
*3-Function RemotesIf provided with your garage door opener, the largebutton is factory programmed to operate it. Additionalbuttons on anySecurity✚®3-
1. Enter a four digit personalidentification number (PIN) of yourchoice on the keypad. Then pressand hold ENTER.2. While holding the ENTER button,pres
115NOTICE62UPCEILING MOUNT ONLY8101271LOCKLIGHT34913151431581072946Installation Parts37REPAIR PARTSRail Assembly PartsKEY PARTNO. NO. DESCRIPTION1 41A
Motor Unit Assembly Parts38DNUPBrownWire(Down)ContactLIMIT SWITCH ASSY.GreyWireYellowWire(Up)ContactCenter LimitContactDriveGear213456788a8b8c9101111a
LOCKLIGHT39ACCESSORIES WARRANTY139.53754139.53687139.53753139.53749SECURITY✚®Compact3-Function Remote Control:With loop for attaching key ring.SECURIT
4Safety Reversing SensorHorizontal and vertical reinforcementis needed for lightweight garage doors(fiberglass, steel, aluminum, door withglass panels
2Introducción 2-7Revisión de los símbolos y términos de seguridad ...2Preparación de la puerta de su cochera ...
3Preparación de la puerta desu cocheraAntes de comenzar:• Quite los seguros.• Retire cualquier cuerda o cable que esté conectadoa la puerta.• Haga la
4Sensor de seguridad de reversaLos refuerzos verticales y horizontales son necesarios para las puertas de cochera demateriales más livianos (fibra de
5EN POSICIÓN CERRADASensor de seguridadde reversaPuerta deaccesoSensor de seguridadde reversaMénsuladel cabezalMénsuladel rielTroleBrazo dela puerta(r
6UPCEILING MOUNT ONLYLOCKLIGHTCople dela poleaPuntales delsoporte del riel(4)RielSECURITY✚®Control remoto de tres funciones,con clip para el visor (2)
7Tuerca de1/4-20x7/16 pulg. (12)Tuerca de mariposa 1/4-20 de pulg.(2)Perno de coche de1/4-20x1/2 pulg. (2)Perno hexagonalde 1/4-20x5/8 pulg. (4)Mangui
NOTA: Durante el montaje del riel nunca mueva ni jale elasiento para el trole lejos de la varilla de conexión. Elasiento para el trole sale de la fábr
9Montaje del riel (Continuación)4. Empezando en el extremo con la rueda dentada,coloque las tres secciones del riel de manera que lavarilla de conexió
10Poleadel rielRielTroleCopleMénsuladel motorTuercasde 1/4-20Polea del motorHule espumade protecciónPernos hexagonalesde 1/4-20x5/8 pulg.Brazo del tro
11MONTAJE, PASO 3Coloque las ménsulas del riel• Alinee las ménsulas con la parte trasera del riel como semuestra.• Atornille las ménsulas con los pe
5AccessDoorSafetyReversing SensorSafetyReversingSensorHeaderBracketDoorBracketStraightDoorArmCurvedDoor ArmTrolleyEmergency ReleaseRope & HandleRa
INSTALACIÓN, PASO 1Determine dónde va a instalarla ménsula del cabezalEl proceso de instalación varía dependiendo de losdiferentes tipos de puerta de
13UPCEILING MOUNT ONLYOrificios para la instalaciónen el cielo rasoEste orificio es solamente paramarcar la posición de la ménsula.Se deben de utiliza
14INSTALACIÓN, PASO 3Coloque el riel en la ménsuladel cabezal• Coloque el abridor sobre el piso de la cochera debajode la ménsula del cabezal. Use el
15Área de protección delrayo electrónico invisibleSensor de seguridad de reversa auna distancia máximade 15 cm (6 pulg.) del pisoSensor de seguridad d
16Figura 1Figura 2Figura 3Figura 4Tornillos de cabeza cuadrada(No se incluyen)Fije el bloque de madera a la pared con tornillos decabeza cuadrada (No
17Perno de cochede 1/4-20x1/2 de pulg.LenteTuerca de mariposaFigura 5MONTAJE Y CABLEADO DE LOS SENSORES DELSISTEMA DE RETROCESO DE SEGURIDAD• Deslice
18PUERTA DE UNA SOLA PIEZA SIN CARRILColoque un pedazo de madera de 5x10 cm (2x4 pulg.)sobre su lado de ayuda al determinar la distancia idealentre la
19INSTALACIÓN, PASO 6Cuelgue el abridorAquí se muestran tres ejemplos distintos para lainstalación; sin embargo, es posible que su cochera noconcuerde
LOCKLIGHTWHITE2RED1SeguroLuzBotón conluzTornillosterminalesOrificiosuperior demontajeOrificio inferior de montajeUNIDAD DECONTROLPREMIUMVISTA POSTERIO
21Para evitar la posibilidad de una LESIÓN GRAVE o INCLUSOLA MUERTE por electrocución o incendio:• Cerciórese de que el abridor no esté conectado a la
6Straight DoorArm SectionCurved DoorArm SectionHeader BracketUPCEILING MOUNT ONLYSprocketCoupling2-Conductor Bell WireWhite & White/RedHeader/Rai
22INSTALACIÓN, PASO 10Instale las luces y lentes• Instale un foco de 100 vatios (máximo) en cada socketdel abridor. Los bombillos deben ser de A19 cue
23En el caso de puertas de fibra de vidrio, aluminio o aceroligero, ES NECESARIO colocar un refuerzo ANTES de instalarel marco de la puerta. Póngase e
24Si su puerta es de metal, aluminio,fibra de vidrio o con paneles devidrio, siempre son necesariosrefuerzos verticales y horizontales(No se incluyen.
25INSTALACIÓN, PASO 13Conecte el brazo de la puerta al troleSiga las instrucciones que correspondan al tipo de puertade cochera que usted tenga, como
TODAS LAS PUERTAS DE UNA SOLA PIEZA1. Arme el brazo de la puerta, Figura 4:• Sujete las dos secciones de los brazos de la puerta(recto y curvo) a la m
27AJUSTES, PASO 1Ajuste el límite del recorrido HACIA ARRIBA y HACIA ABAJOAl ajustar el límite del recorrido de la puerta, se regulahasta qué punto és
28AJUSTES, PASO 2Ajuste la fuerzaLos controles para el ajuste de la fuerza del abridor seencuentran en el panel de posterior de la unidad del motor.Es
AJUSTES, PASO 3Pruebe el Sistema de Retroceso deSeguridadPRUEBA• Abra completamente la puerta, coloque un pedazo demadera de 3.8 cm (1-1/2 de pulg.) (
Cómo Usar su Abridor de Puerta deCocheraSu abridor Security✚®y el control remoto manual han sidoprogramados en la fábrica con un código coincidente qu
31Cómo abrir la puerta manualmenteCÓMO DESCONECTAR ELTROLE:La puerta debe estarcompletamente cerrada si esposible. Tire de la manija deliberación de e
7Lock Nut1/4"-20x7/16 (12)Wing Nut1/4"-20 (2)Carriage Bolt1/4"-20x1/2" (2)Hex Bolt 1/4"-20x5/8" (4)Sprocket Coupling Sle
La batería de litio debe producirenergía durante cinco años. Paracambiar la batería use el clip delvisor o un destornillador para abrirla caja, como s
33SI TIENE ALGÚN PROBLEMA1. La puerta no cierra y las luces de la unidad delmotor parpadean: El sensor del sistema de retrocesode seguridad debe estar
34Sensor de seguridadde reversa instalada — — — — — — — —LED o Diagnóstico LEDBotón"Aprender"Diagnóstico situado enunidad del
Para borrar todos los códigos de lamemoria de la unidad del motorPara desactivar cualquier control remoto que no desee usar,antes que nada borre todos
1. Introduzca un número de identificaciónpersonal (PIN) que haya elegido, usandoel teclado. Luego oprima y mantengaoprimido el botón ENTER.2. Mientras
37ACCESORIOS LOCKLIGHT139.53754139.53687139.53753139.53589139.53749139.53702139.53404139.5370941A5281139.53752Liberador de la llave de emergencia:Se r
Get it fixed, at your home or ours!Your HomeFor repair – in your home – of all major brand appliances,lawn and garden equipment, or heating and coolin
Center Rail Door End RailRailSprocketTrolley RackSprocket End RailRotate8ASSEMBLY STEP 1Assemble the RailTo avoid installation difficulties, do not ru
9Lock Nut1/4"-20Bolt1/4"-20x1-3/4" (8)Assemble the Rail (Continued)4. Beginning with the sprocket end, straighten thethree rail section
More documents for Garage Door Opener Craftsman 139.53992D

Related products and manuals for Garage Door Opener Craftsman 139.53992D

 (76 pages)
 (80 pages)
© 2020, manymanuals.com. All rights reserved. | 0.079 s |
 Manymanuals.com
 Manymanuals.de
 Manymanuals.fr
 Manymanuals.it
 Manymanuals.pl
 Manymanuals.cz
 Manymanuals.es
 Manymanuals-pt.com
Comments to this Manuals