Craftsman 137.218020 Operator's Manual
Browse online or download Operator's Manual for Power tools Craftsman 137.218020. Craftsman 137.218020 Operator`s manual User Manual
- Page / 29
- Table of contents
- BOOKMARKS
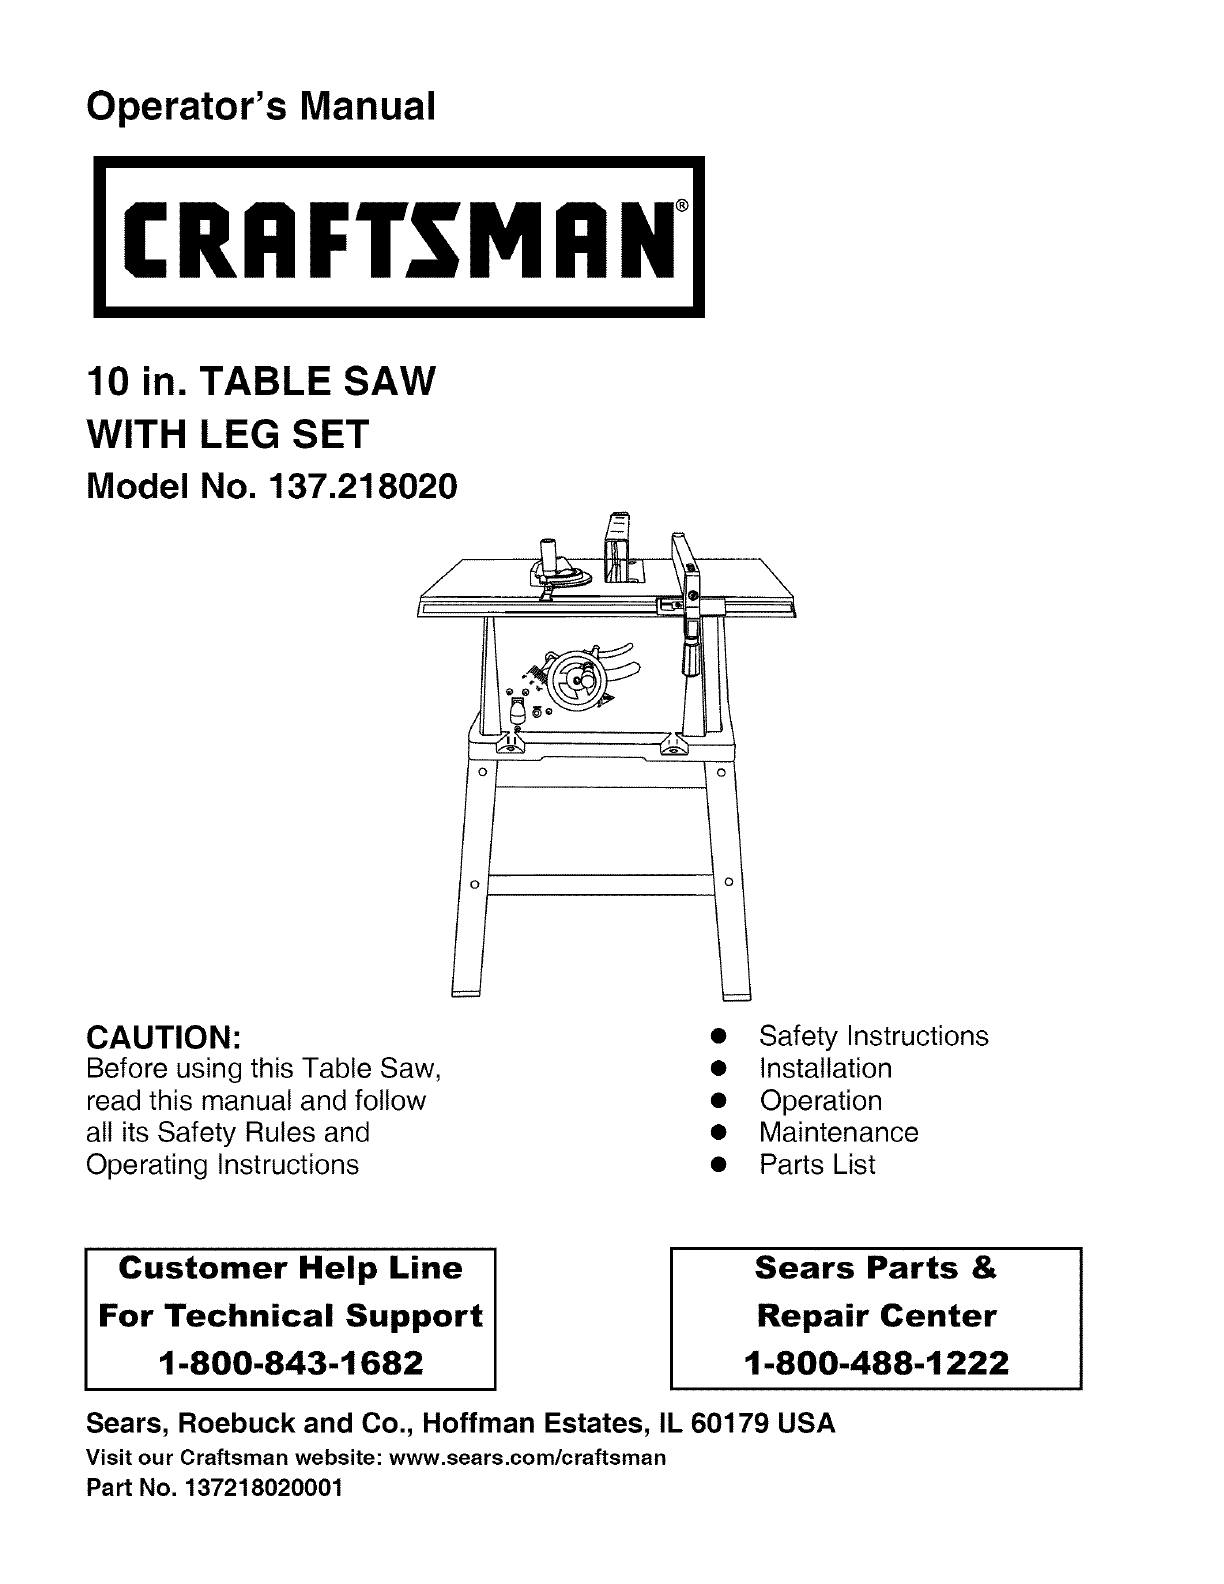
- Operator's Manual 1
- 10 in. TABLE SAW 1
- WITH LEG SET 1
- I_i, WARNING I 2
- GENERALSAFETYINSTRUCTIONS 3
- GROUNDING INSTRUCTIONS 5
- IA,WARNINGI 6
- UNPACKING YOUR TABLE SAW 7
- WARNING I 10
- I_k WARNING I 11
- IA DANGER I 13
- WARNINGI 14
- I,A WARNING I 15
- I_ WARNINGI 18
- IA.WARNING[ 19
- I WARNING 20
- I,A. WARNING I 21
- IA WARNING I 21
- GENERAL MAINTENANCE Fig. FF 22
- I_ WARNING I 22
- LUBRICATION 22
- Your Home 29
- Our Home 29
- 1-800-488-1222 29
Summary of Contents
Operator's Manual10 in. TABLE SAWWITH LEG SETModel No. 137.218020CAUTION:Before using this Table Saw,read this manual and followall its Safety Ru
ASSEMBLE STAND (FIG. A)1. Unpack all parts and group by type and size. Referto the parts list for correct quantities.2. Attach one long upper support
SAWMOUNTED TO WORK SURFACE (FIG.B)1. If the leg set will not be used, the saw must beproperly secured to a sturdy workbench using thefour mounting hol
2. Liftupwardonripfencehandle(2)sotherearholdingclamp(4)isfullyextended.3. Placetheripfenceonthesawtable(5),engagingtherearfenceclampfirstthenlowering
5.6.Install the saw blade onto the arbor with the bladeteeth pointing toward the front of the saw.Install the flange (6) against the blade and threadt
Fig, MKickback pawl10Straight edgeMITER GAUGE ADJUSTMENT (FIG. N)1. To check miter gauge squareness, loosen lockhandle (1) to allow miter body (3) to
BLADE TILTING MECHANISMThe saw blade can be tilted two different ways.RAPID BLADE TILTING (FIG. P)1. Loosen blade bevel lock knob (2).2. Slide the ent
ADDITIONAL BLADE ADJUSTMENTS (FIG. R)TOOLS REQUIRED• 10 mm open end or 10 mm combination wrench• 4 mm hex key• Framing square• Medium size flat blade
BEVEL POINTER ADJUSTMENT (FIG. T)When you have achieved a 90° angle of the bladeto the table top as described in section above, theangle pointer (1) m
BASIC SAW OPERATIONSON/OFF SWITCH (FIG. V)The on/off switch (1) is located on the front panel of thesaw base. To turn the saw ON, move the switch to t
I_ WARNING IAVOID KICKBACK by pushing forward that sectionof the workpiece that will pass between the bladeand the fence. Use a push stick at all time
SECTION PAGEWarranty ... 2Product Specifications ... 2Power Tool
Fig, YBEVEL CROSSCUTTING (FIG. AA)0o-45 ° BLADE BEVEL & 90° MITER ANGLEThis cutting operation is the same as crosscuttingexcept the blade is at a
USING WOOD FACING ON THE RIP FENCE (FIG.DD)When performing some special cutting operations,You can add a wood facing (1) to either side of the ripfenc
GENERAL MAINTENANCE Fig. FFI_ WARNING IFor your own safety, turn the switch OFF andremove the switch key. Remove the plug fromthe power source outlet
I_ WARNING ITo avoid injury from an accidental start, turn the switch OFF and always remove the plug from the powersource before making any adjustment
10 IN. TABLE SAW PARTS LIST MODEL NO. 137.218020I_ WARNING IWhen servicing use only CRAFTSMAN replacement parts. Use of any other parts many create a
10 IN. TABLE SAW SCHEMATIC MODEL NO. 137.218020/\/\ _29PDI OK3R 22FDU2EUC_2FRJOClt/ OBPA919BIM0821ogKMR0B99
10 IN. TABLE SAW PARTS LIST & SCHEMATIC MODEL NO. 137.218020STANDI.D. No. Description093B FOOT PADOJPQ HEX. HD. BOLTOKRR SERRATED TOOTHED HEXAGON
10 IN. TABLE SAW PARTS LIST & SCHEMATIC MODEL NO. 137.218020MOTORI.D, No. Description Size Qfy0HV5 BALL BEARING 6204LLU 10HVU BALL BEARING 6200ZZ
/PUSH STICK CONSTRUCTION• This is a full-size drawing (actual size)• Use good quality plywood or solid woodUse 1/2 in. or 3/4 in. materialPush stick M
Your HomeFor repair - in your home - of all major brand appliances,lawn and garden equipment, or heating and cooling systems,no matter who made it, no
GENERALSAFETYINSTRUCTIONSReadandunderstandall theinstructionsbelowbeforeusingthe powertool.Thesesafetyinstructionsarenotmeantto covereverypossiblecond
2.3.4.ALWAYS USE SAW BLADE GUARD, splitterand anti-kickback pawls for every through-sawingoperation. Through-sawing operations are thosein which the b
GROUNDING INSTRUCTIONSIN THE EVENT OF A MALFUNCTION ORBREAKDOWN, grounding provides a path of leastresistance for electric currents and reduces the ri
RECOMMENDED ACCESSORIESI_tL WARNING IVisit your Sears Hardware Department or seethe Craftsman Power and Hand Tools Catalog topurchase recommended acce
UNPACKING YOUR TABLE SAW(CDE F GH 1 jQoKo"1 "NOP
MitergaugeBladeguard TableinsertRipfenceBevelanglepointer& scaleOverloadresetswitchON/OFFswitchwithsafetykeyBladebevellockknob&tiltinghanwheel
ANTI-KICKBACKPAWLS- Prevents the workpiecefrom being kicked upward or back toward the front of thetable saw by the spinning blade.ARBOR - The shaft on
Related products and manuals for Power tools Craftsman 137.218020
 (32 pages)
 (23 pages)
 (28 pages)
© 2020, manymanuals.com. All rights reserved. | 2.368 s |
 Manymanuals.com
 Manymanuals.de
 Manymanuals.fr
 Manymanuals.it
 Manymanuals.pl
 Manymanuals.cz
 Manymanuals.es
 Manymanuals-pt.com
Comments to this Manuals