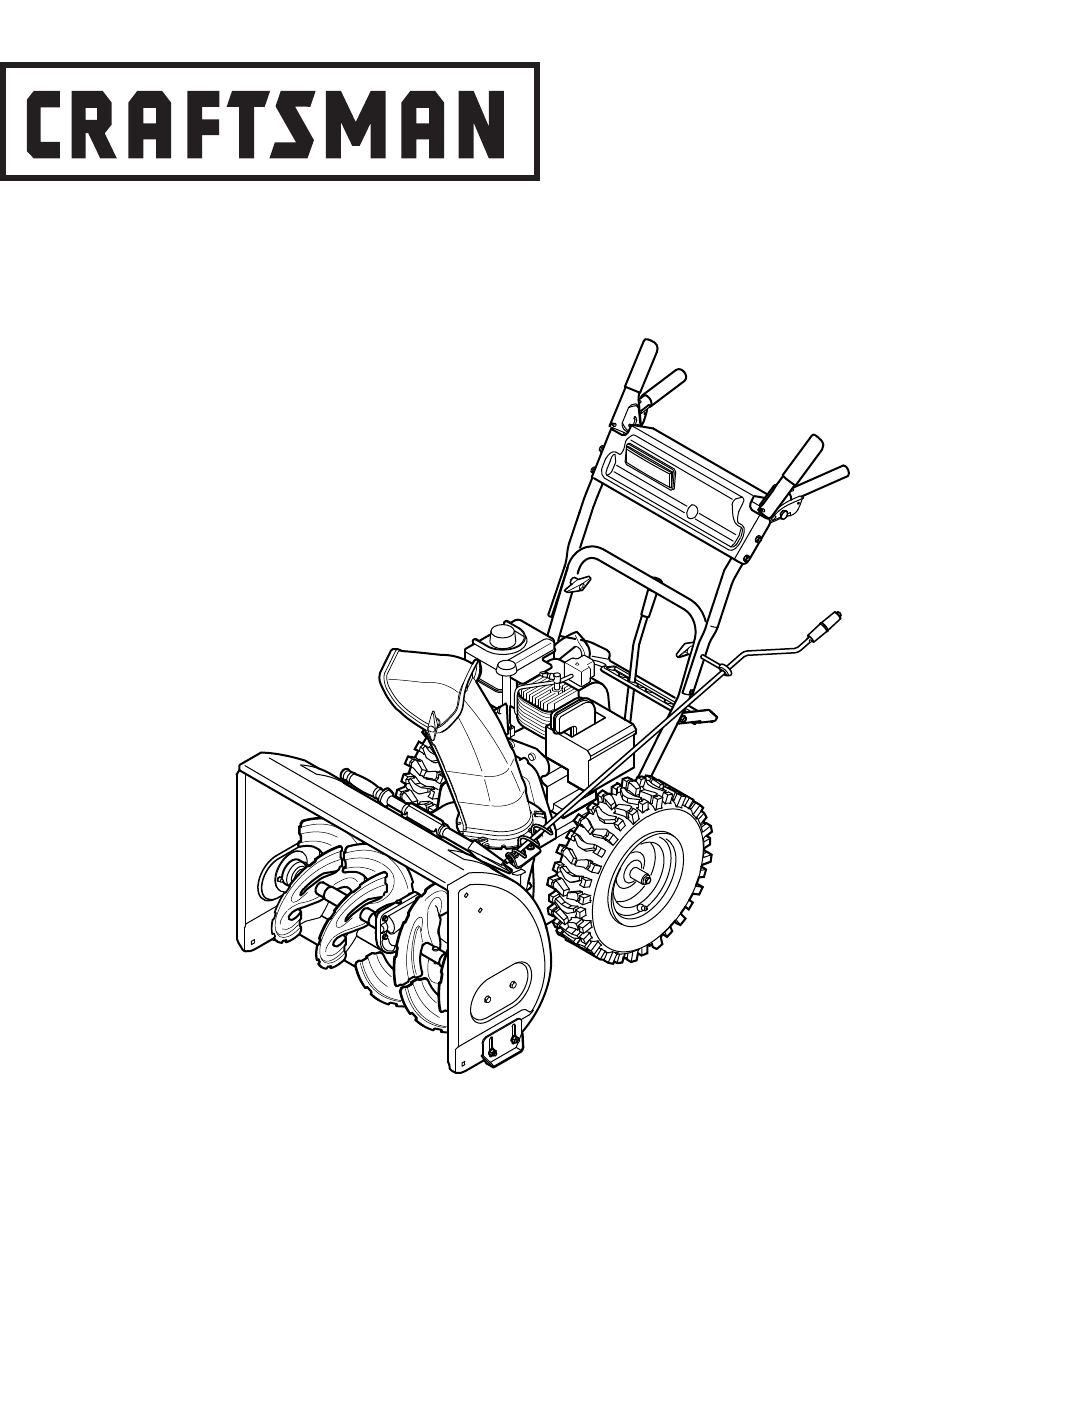
Craftsman 247.88355 User Manual
Browse online or download User Manual for Cars Craftsman 247.88355. Craftsman 247.88355 User Manual
- Page / 64
- Table of contents
- TROUBLESHOOTING
- BOOKMARKS
- Operator’s Manual 1
- TABLE OF CONTENTS 2
- WARRANTY STATEMENT 2
- REPAIR PROTECTION AGREEMENT 3
- SAFETY INSTRUCTIONS 4
- SAFETY LABELS 7
- ASSEMBLY 10
- OPERATION 12
- SERVICE AND MAINTENANCE 16
- OFF-SEASON STORAGE 24
- TROUBLESHOOTING 25
- PARTS LIST 26
- (Not included with starter) 35
- DECLARACIÓN DE GARANTÍA 38
- ESPECIFICACIONES DEL 38
- PRODUCTO 38
- NÚMERO DE MODELO 38
- INSTRUCCIONES DE SEGURIDAD 40
- PARTES SUELTAS 42
- ADVERTENCIA 44
- PRECAUCIÓN 44
- Ajuste del montaje del canal 45
- OPERACIÓN 46
- CONTROL DE 47
- LA BARRENA 47
- Tapón de Ilenado 50
- Tapón para 50
- SERVICIO Y MANTENIMIENTO 51
- PRECAUCIÓN 58
- SOLUCIÓN DE PROBLEMAS 59
- Your Home 64
- 1-800-4-MY-HOME 64
- Our Home 64
Summary of Contents
Sears, Roebuck and Co., Hoffman Estates, IL 60179, U.S.A.Visit our website: www.craftsman.comCAUTION: Before using this product, read this manual and
10ASSEMBLYSET-UPChute Clean-Out ToolA chute clean-out tool is fastened to the top of the auger housing with a mounting clip. See Figure 6. The tool is
11ASSEMBLYChute AssemblyThe distance snow is thrown can be adjusted by changing the angle of the chute assembly. To do so:Stop the engine by removing
12OPERATIONNow that you have setup your snow thrower, it’s important to become acquainted with its controls and features. Refer to Figure 10.SHIFT LEV
13OPERATIONTHROTTLE CONTROLThe throttle control is located on the rear of the engine. It regulates the speed of the engine and will shut off the engin
14OPERATIONCLEAN-OUT TOOLThe chute clean-out tool is conveniently fastened to the rear of the auger housing with a mounting clip. Should snow and ice
15OPERATION5. Once the engine starts, release starter button.6. As the engine warms, slowly rotate choke control to the OFF posi
16SERVICE AND MAINTENANCEENGINE MAINTENANCEChecking Engine Oil Be sure engine is upright and level.Unscrew oil fill cap from oil filler tube and wipe
17SERVICE AND MAINTENANCEChecking Spark PlugCheck spark plug yearly or every 100 operating hours Clean area around spark plug.Remove and inspect spark
18SERVICE AND MAINTENANCESHAVE PLATE AND SKID SHOESThe shave plate and skid shoes on the bottom of the snow thrower are subject to wear. They should b
19SERVICE AND MAINTENANCEChute BracketIf the spiral at the bottom of the chute directional control is not fully engaging with the chute assembly, the
2TABLE OF CONTENTSWARRANTY STATEMENTPRODUCT SPECIFICATIONS MODEL NUMBERWarranty Statement ...Page 2Repair Protection Agreement ...
20SERVICE AND MAINTENANCERemove the frame cover from the underside of the snow thrower by removing four self-tapping screws which secure it. See Figur
21SERVICE AND MAINTENANCERemove the belt as follows. Refer to Figure 25. a. Roll the auger belt off the engine pulley. b. Use a wrench
22SERVICE AND MAINTENANCECarefully remove the hex nut and washer which secures the hex shaft to the snow thrower frame and lightly tap the shaft’s end
23SERVICE AND MAINTENANCEInterval Item Service Service LogEach Use Engine oil levelLoose or missing hardwareUnit and engine.1.2.3.CheckTighten or repl
24OFF-SEASON STORAGEPREPARING ENGINEShort-Term StorageIt is important to prevent gum deposits from forming in essential fuel system parts of the engin
25TROUBLESHOOTINGProblem Cause RemedyEngine fails to start Choke control not in ON positionSpark plug wire disconnectedFaulty spark plugFuel tank empt
26PARTS LISTCraftsman Snow Thrower Model 247.883550919436750395346304144474049152045326249285812237141711852485451384331333527944343331213329162513533
27PARTS LISTCraftsman Snow Thrower Model 247.883550Ref. No. Part No. Description1. 731-2635 Snow Removal Tool Mount2. 684-04057A Impeller Assemb
28PARTS LISTCraftsman Snow Thrower Model 247.88355035404116812214101810110432173233302722312993893736393425262420232861917251113515942
29PARTS LISTRef. No. Part No. Description1. 631-04133A Handle Ass’y, Lock LH2. 631-04134B Handle Ass’y, Lock, RH3. 684-04105B Handle Ass’y, Engagement
3REPAIR PROTECTION AGREEMENTCongratulations on making a smart purchase. Your new Craftsman® product is designed and manufactured for years of dependab
30PARTS LISTCraftsman Snow Thrower Model 247.88355053222150624263403330243618525371963173024261323474423432753424 305158526135277145548467595949412111
31PARTS LISTRef. No. Part No. Description1. 656-04025A Disc Assembly, Friction Wheel 2. 684-04153 Friction Wheel Assembly, 5.5 OD 3. 684-04154
32PARTS LISTCraftsman Engine Model LH195SP-67514 For Snow Thrower Model 247.883550
33PARTS LISTRef. No. Part No. Description1 36469A Cylinder (Incl. 2,20,72 & 125)2 26727 Dowel Pin5 30969 Extension Cap (1/4-18 NPT)14 28277 Washer
34PARTS LISTRef. No. Part No. Description223 650664 Screw, 1/4-20 x 1-19/32” 224 33673A *Intake Pipe Gasket253 36701 Compression Release Weight25
35PARTS LISTRef. No. Part No. Description0 640084B Carburetor (Incl. 184 of Engine Parts List)1 631615 Throttle Shaft & Lever Assembly2 631767 Thr
36 (This page applicable in the U.S.A. and Canada only.)Sears, Roebuck and Co
37Look For Relevant Emissions Durability Period and Air Index Information On Your Engine Emissions LabelEngines that are certified to meet the Califor
38ÍNDICEDECLARACIÓN DE GARANTÍAESPECIFICACIONES DEL PRODUCTONÚMERO DE MODELODeclaración de garantía ...Página 38Acuerdo de pr
39ACUERDO DE PROTECCIÓN PARA REPARACIONESFelicitaciones por haber realizado una adquisición inteligente. El producto Craftsman® que ha adquirido está
4SAFETY INSTRUCTIONSTRAININGRead, understand, and follow all instructions on the machine and in the manual(s) before attempting to assemble and operat
40INSTRUCCIONES DE SEGURIDADCAPACITACIÓNLea, entienda y cumpla todas las instrucciones incluidas en la máquina y en los manuales antes de montarla y u
41INSTRUCCIONES DE SEGURIDADOPERACIÓN No ponga las manos o los pies cerca de las piezas rotatorias, en la caja de la barrena / motor o en el montaje d
42MONTAJENOTA: las referencias al lado derecho o y ciertos de la máquina quitanieve se determinan desde la parte posterior de la unidad en posición de
43MONTAJE3. Sitúe el montaje del canal sobre la base. Vea la figura 3.4. Cierre los fijadores de la brida para asegurar el montaje del canal
44MONTAJECONFIGURACIÓNHerramienta de Limpieza del CanalHay una herramienta de limpieza del canal iajustada a la parte superior de la caja de la barr
45MONTAJEFigura 8Ajuste del montaje del canalEs posible ajustar la distancia a la cual se arroja la nieve cambiando el ángulo del montaje del canal. P
46OPERACIÓNAhora que ya ha ajustado su la máquina quitanieve para la operación, familiarícese con sus controles y características. Vea la Figura 10.PA
47OPERACIÓNCONTROL DEL ESTRANGULADOREl control del estrangulador está ubicado en el motor. Regula la velocidad del motor, y lo apaga cuando mueva el c
48OPERACIÓNHERRAMIENTA DE LIMPIEZALa herramienta de limpieza del canal está ajustada convenientemente a la parte posterior de la caja de la barrena co
49OPERACIÓNNOTA: si el motor ya está caliente, ubique el control del obturador en posición OFF en lugar de FULL.3. Presione el cebador dos o tres
5SAFETY INSTRUCTIONSOPERATIONDo not put hands or feet near rotating parts, in the auger/impeller housing or chute assembly. Contact with the rotating
50SERVICIO Y MANTENIMIENTOMANTENIMIENTO DE MOTORControl del aceite del motorAsegúrese de que el motor está vertical y nivelado.Desenrosque el tapón de
51SERVICIO Y MANTENIMIENTOControl de la bujíaControle la bujía anualmente o cada 100 horas de operación. Limpie el área alrededor de la bujía.Saque e
52SERVICIO Y MANTENIMIENTOEje de la barrenaAl menos una vez por temporada, quite los pasadores de cuchilla del eje de la barrena. Rocíe lubricante al
53SERVICIO Y MANTENIMIENTOSoporte del canalSi la espiral situada en la parte inferior del control direccional del canal no se engancha completamente c
54SERVICIO Y MANTENIMIENTOSaque la cubierta del marco desde debajo de la máquina quitanieve retirando los cuatro tornillos autorroscantes que la asegu
55SERVICIO Y MANTENIMIENTO3. a. Saque la correa de la barrena de la polea del motor. b. Tome la polea loca y gírela hacia la derecha. Vea
56SERVICIO Y MANTENIMIENTORetire con cuidado la tuerca hexagonal y la arandela que sujetan el eje hexagonal al marco de la máquina quitanieve, y golpe
57SERVICIO Y MANTENIMIENTOBARRENASLas barrenas están ajustadas al eje espiral con dos pasadores de cuchilla y pasadores de chaveta. Si la barrena golp
58ALMACENAMIENTO FUERA DE TEMPORADAPREPARACIÓN DEL MOTORAlmacenaje a Corto plazoEs importante evitar que durante el almacenamiento se formen depósi-to
59SOLUCIÓN DE PROBLEMASADVERTENCIAAntes de realizar cualquier tipo del mantenimiento/servicio, suelte todos los mandos y pare el motor. Espere hasta q
This page left intentionally blank.6
(Esta página se aplica sólo en EE.UU. y Canadá).Sears, Roebuck and Co., U.S.A. (Sears), el Consejo de Recursos Ambientales de Calif
61Busque el período de duración de emisiones importantes yla información de clasificación de aire en la etiqueta de emisiones de su motorLos motores cu
NOTAS62
NOTAS63
® Registered Trademark /TMTrademark /SMService Mark of Sears Brands, LLC® Marca Registrada /TM Marca de Fábrica /SM Marca de Servicio de Sears Brands,
7SAFETY LABELSKEEP AWAY FROM ROTATING IMPELLER AND AUGER. CONTACT WITH IMPELLER OR AUGER CAN AMPUTATE HANDS AND FEET. USE CLEAN-OUT TOOL TO UNCLOG DI
8ASSEMBLYNOTE: References to right or left side of the snow thrower are determined from behind the unit in the operating position (standing directly b
9ASSEMBLY3. Position the chute assembly over the base. See Figure 3.4. Close the flange keepers to secure the chute assembly to the
Related products and manuals for Cars Craftsman 247.88355

 (68 pages)
(64 pages)
(44 pages)
(40 pages)
(68 pages)
(40 pages)
(48 pages)
(100 pages)
(20 pages)
(24 pages)
(24 pages)
(28 pages)
(17 pages)
(36 pages)
(28 pages)
(40 pages)
(63 pages)
(58 pages)
(68 pages)
(64 pages)
(44 pages)
(40 pages)
(68 pages)
(40 pages)
(48 pages)
(100 pages)
(20 pages)
(24 pages)
(24 pages)
(28 pages)
(17 pages)
(36 pages)
(28 pages)
(40 pages)
(63 pages)
(58 pages)
© 2020, manymanuals.com. All rights reserved. | 0.215 s |
 Manymanuals.com
 Manymanuals.de
 Manymanuals.fr
 Manymanuals.it
 Manymanuals.pl
 Manymanuals.cz
 Manymanuals.es
 Manymanuals-pt.com
Comments to this Manuals